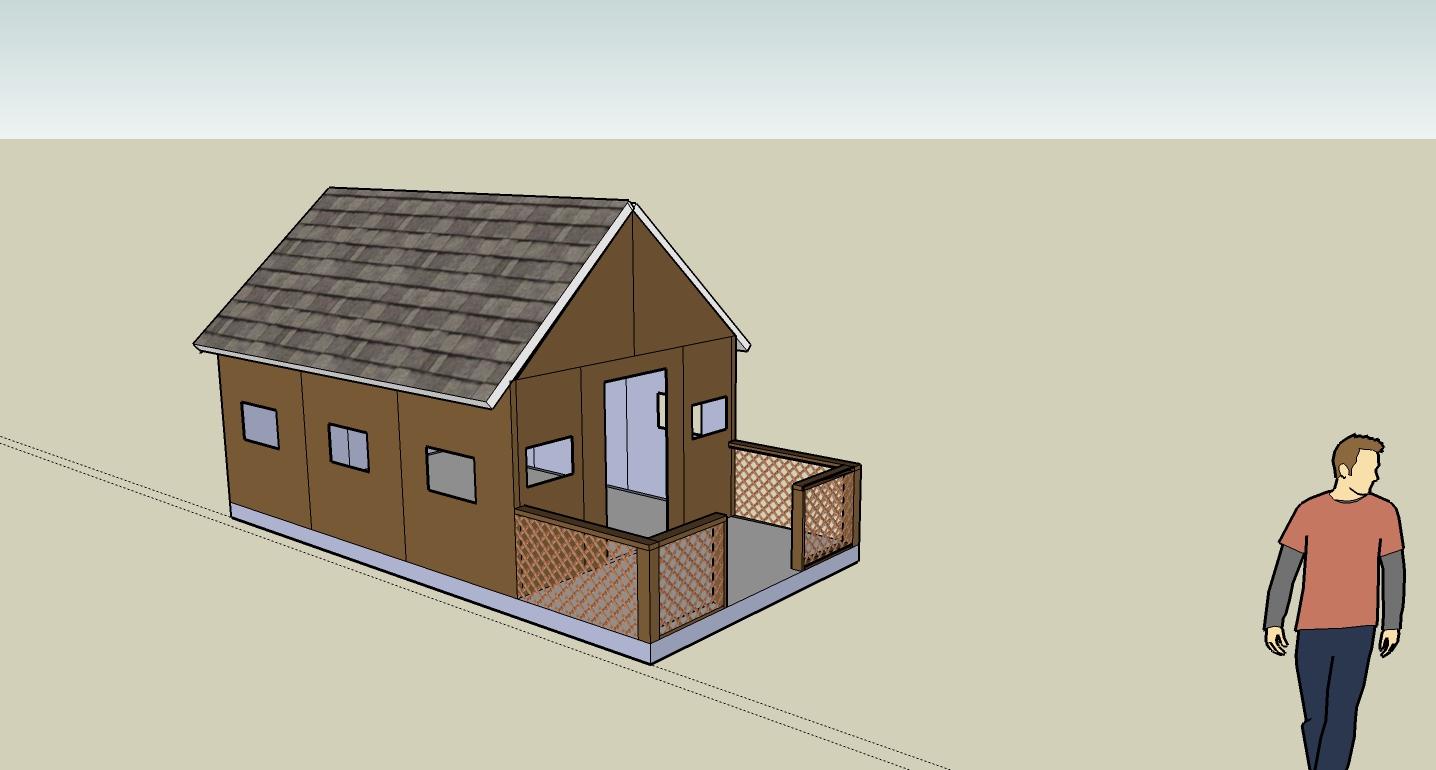
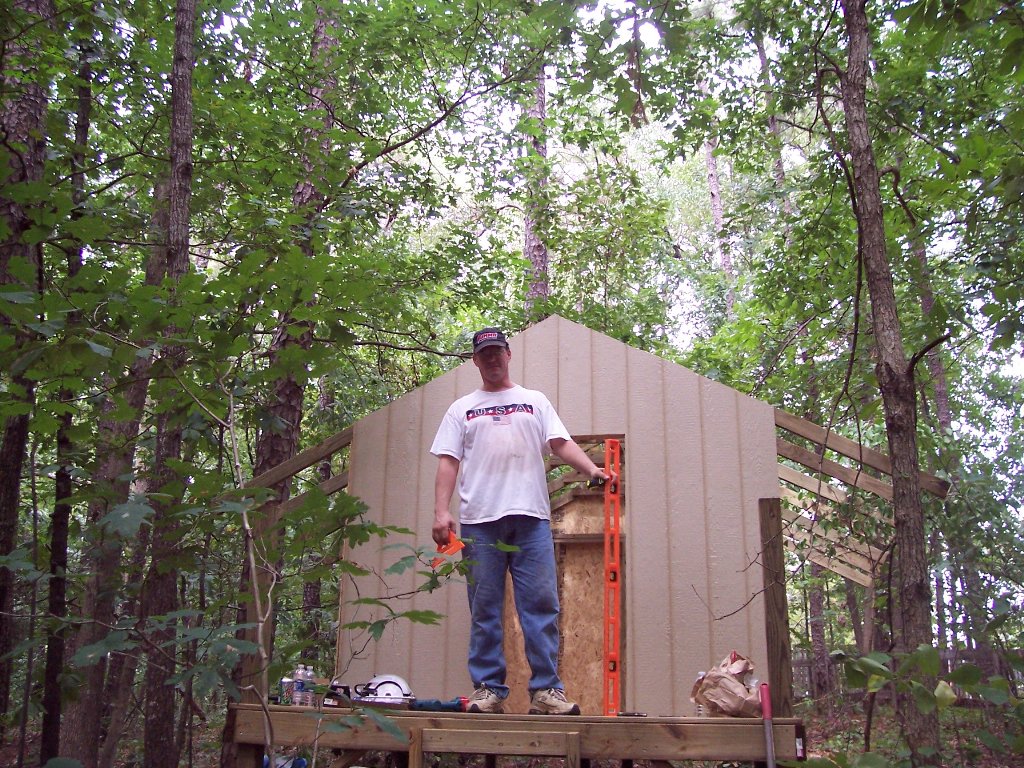
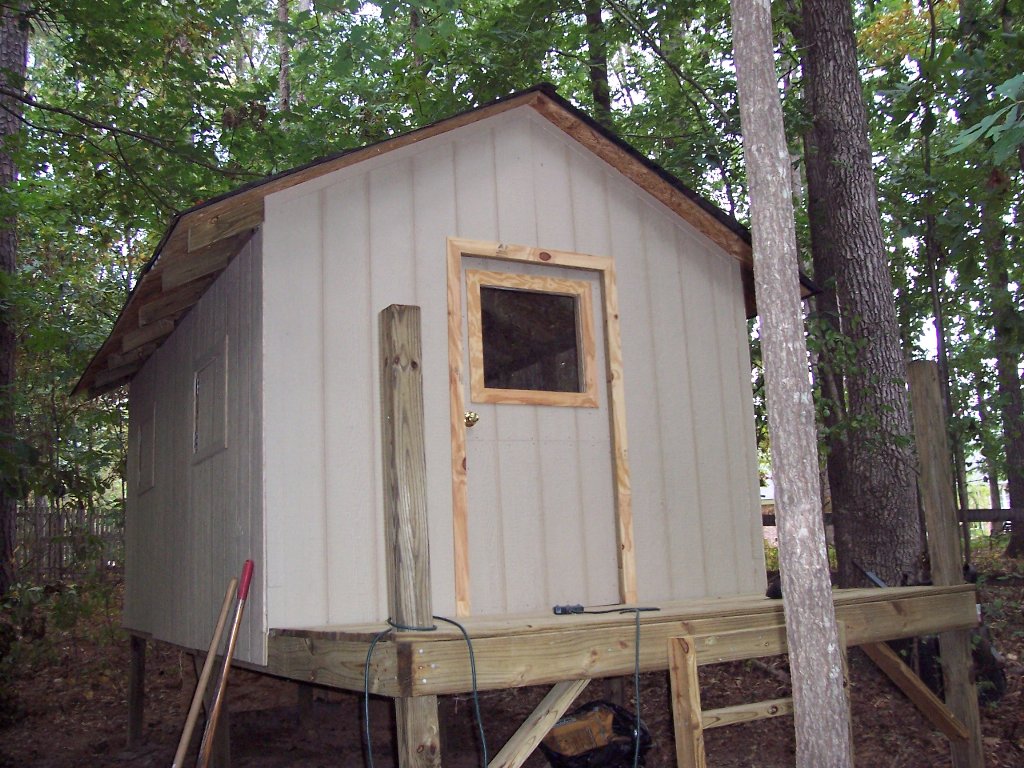
Here is CJs fort - from start to finish. If this turns out as good as it is in my head it will make the little rascles jealous! The fort will be 16 feet long by 8 feet wide. These measurements are pretty much based on a 8 foot board so there will be as little waste as possible while giving the kids enough room to grow in to.
The inside will be 8 by 12, and it will have a 4 foot porch on the front. The projected cost is about $700.
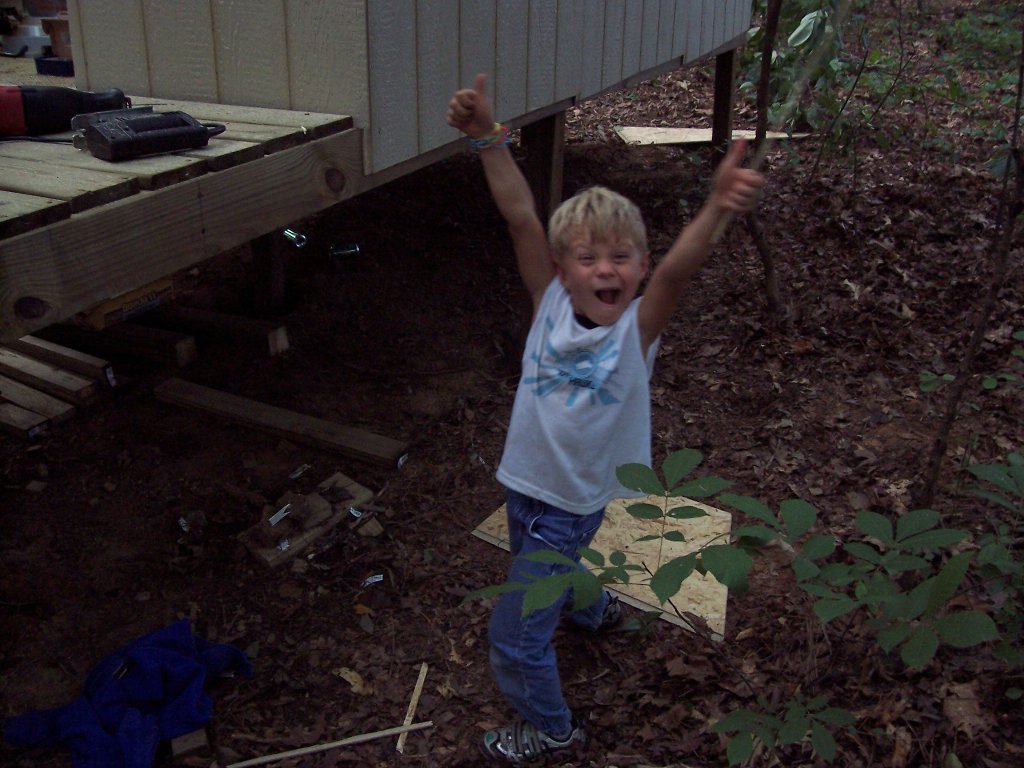
CJ and Nathen (CJ's buddy) have been very good helpers on this project, I could not have done it without them! During the week (weather permitting) we're going to try to do as much as we can after I get home from work. I don't normally get home until about 6:30 - 6:45, so we may not get too much done then since bedtime is about 8:00 on school nights.
This is a picture I made using Google Sketch on how I expect it to look, and how it looks now.
Material List
A few things I've learned along the way...
For anyone interested, I'm trying to keep a running model using Google Sketch of my progress. Some of the models have the dimensions while others are mainly for example and planning. The ones that have the dimensions are added as the fort is being built and should be accurate. The reason I'm putting these here is because I've seen many plans on the internet for sale on a play house (or shed) similar to this. If any of this can help someone with their backyard project, I'm more than happy to do whatever I can to assist!
These plans are for reference and demonstration purposes - use at your own risk.
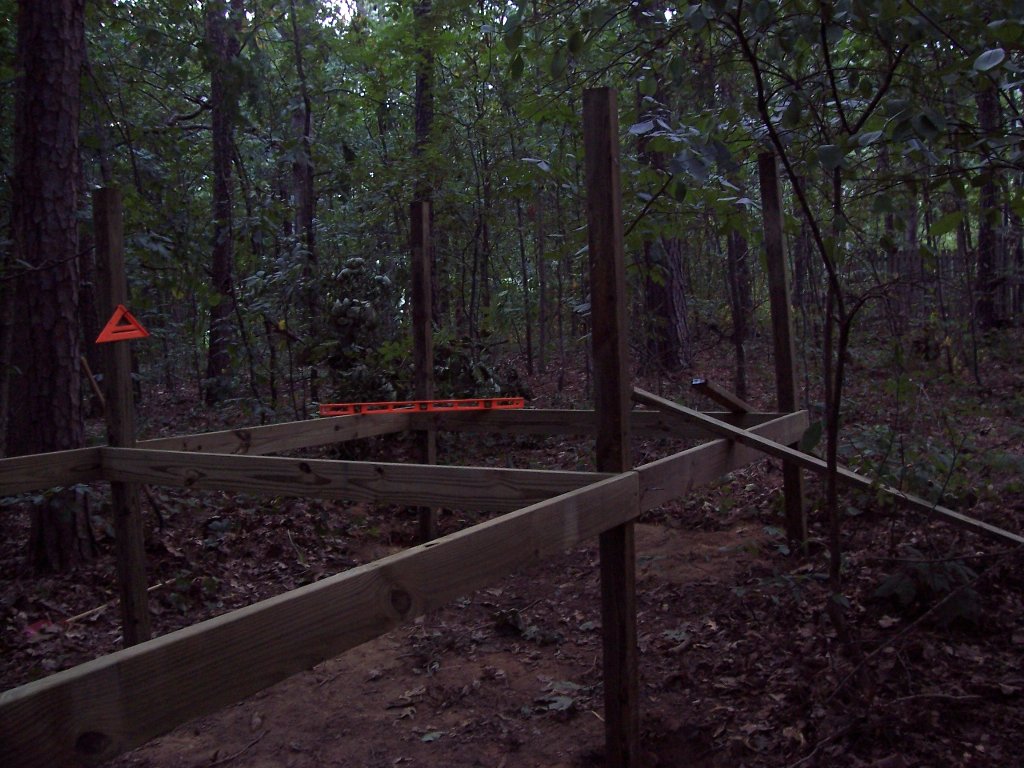
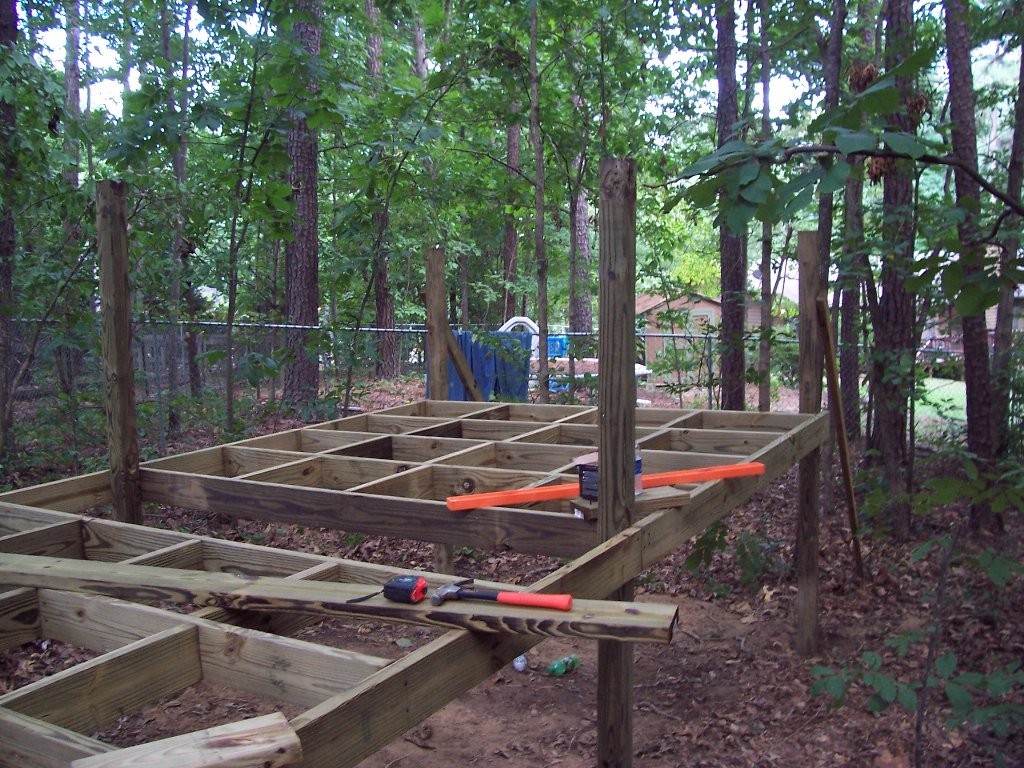
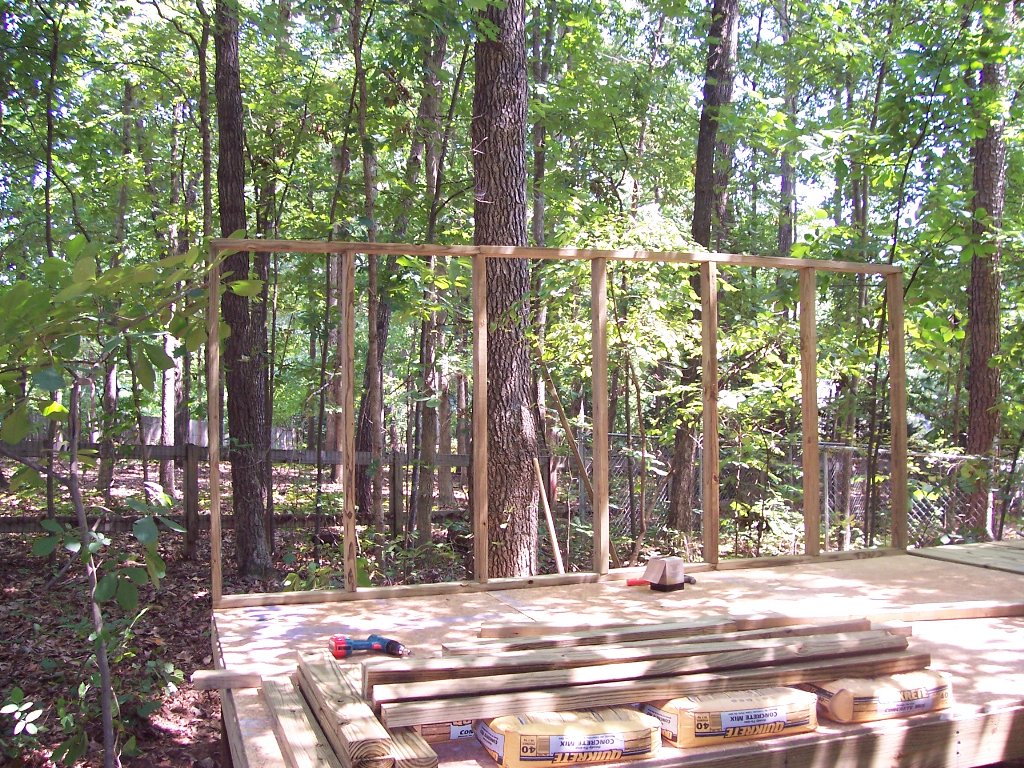
Monday August 16 2010 - Day 1 - 2 hours
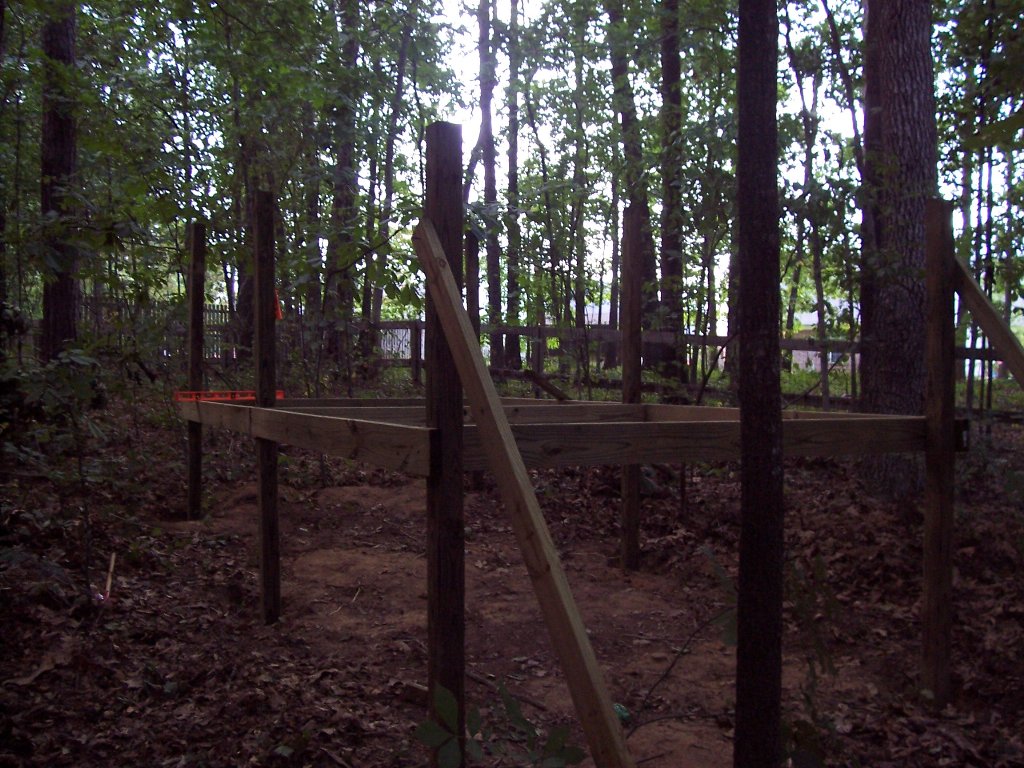
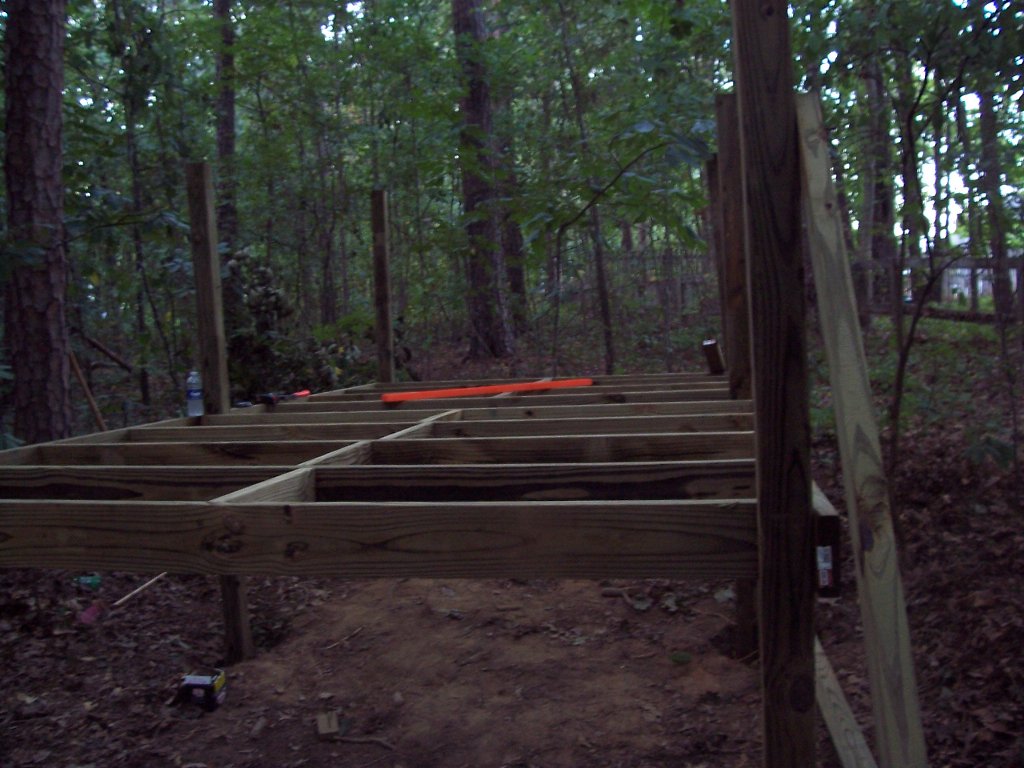
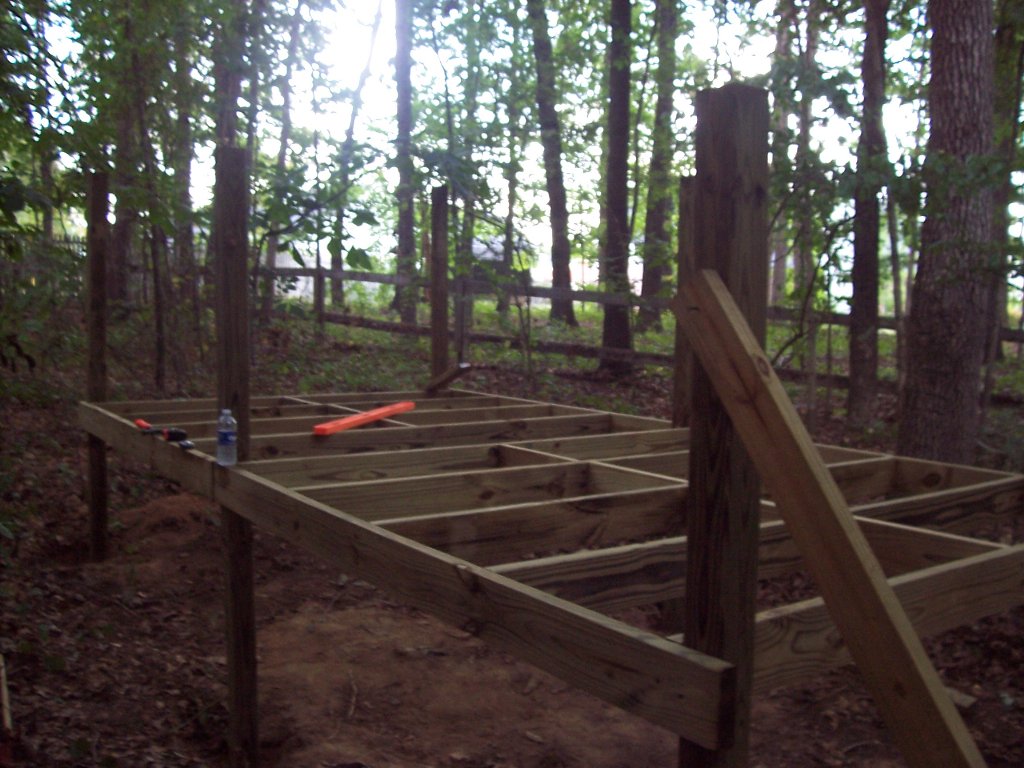
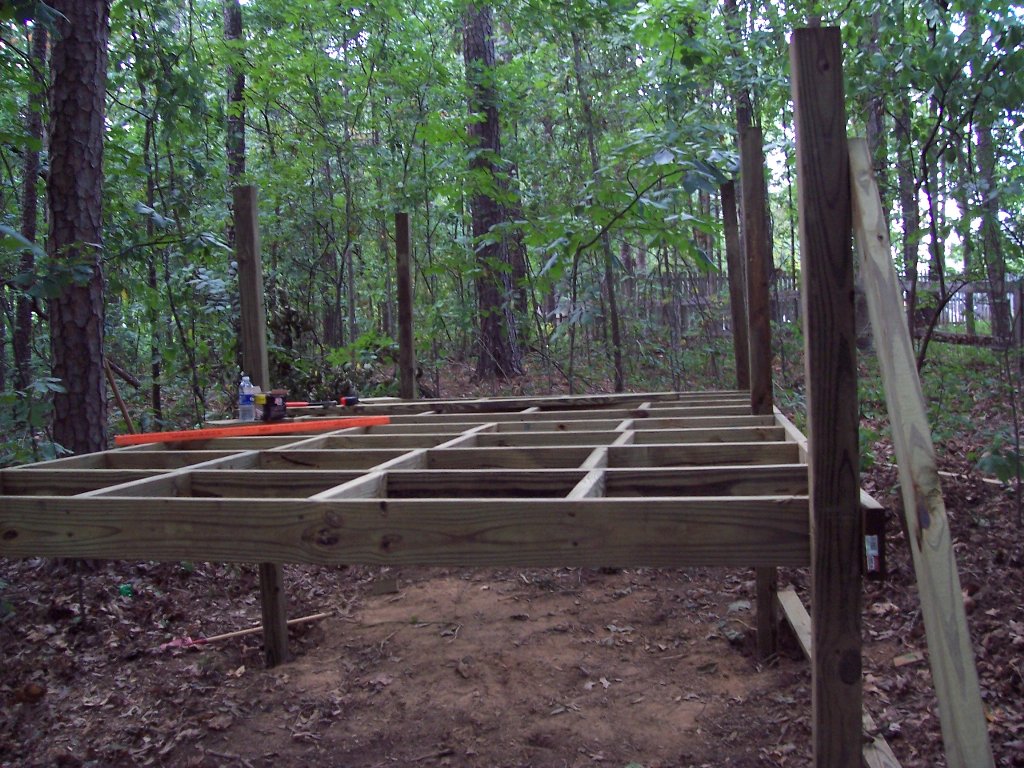
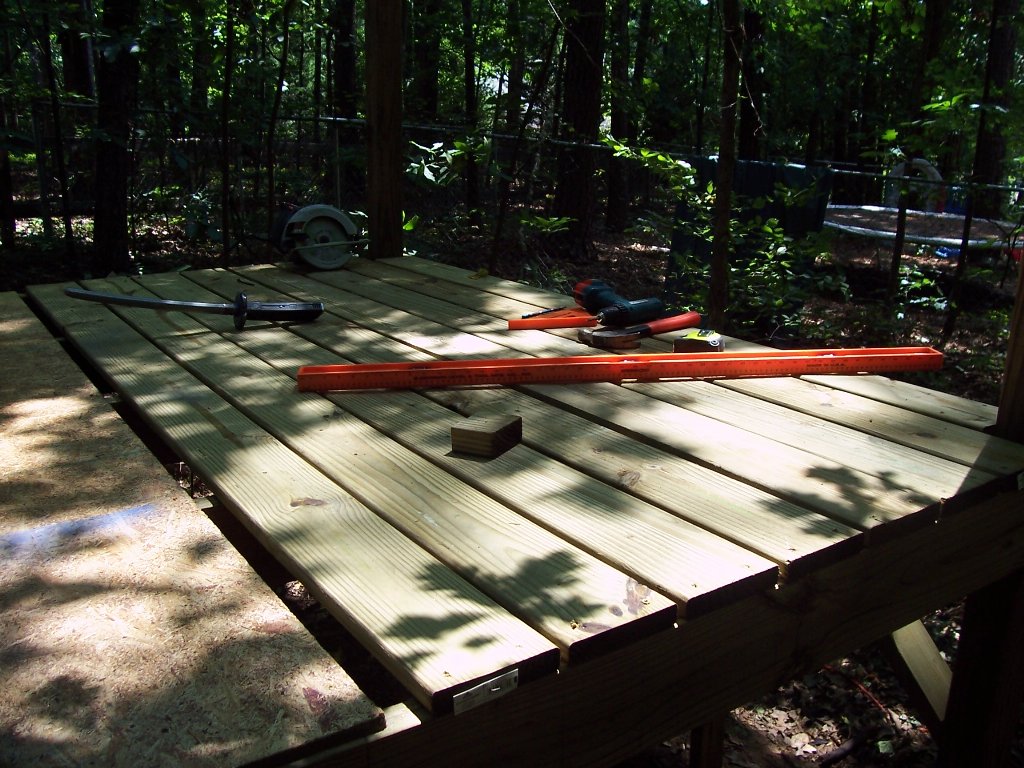
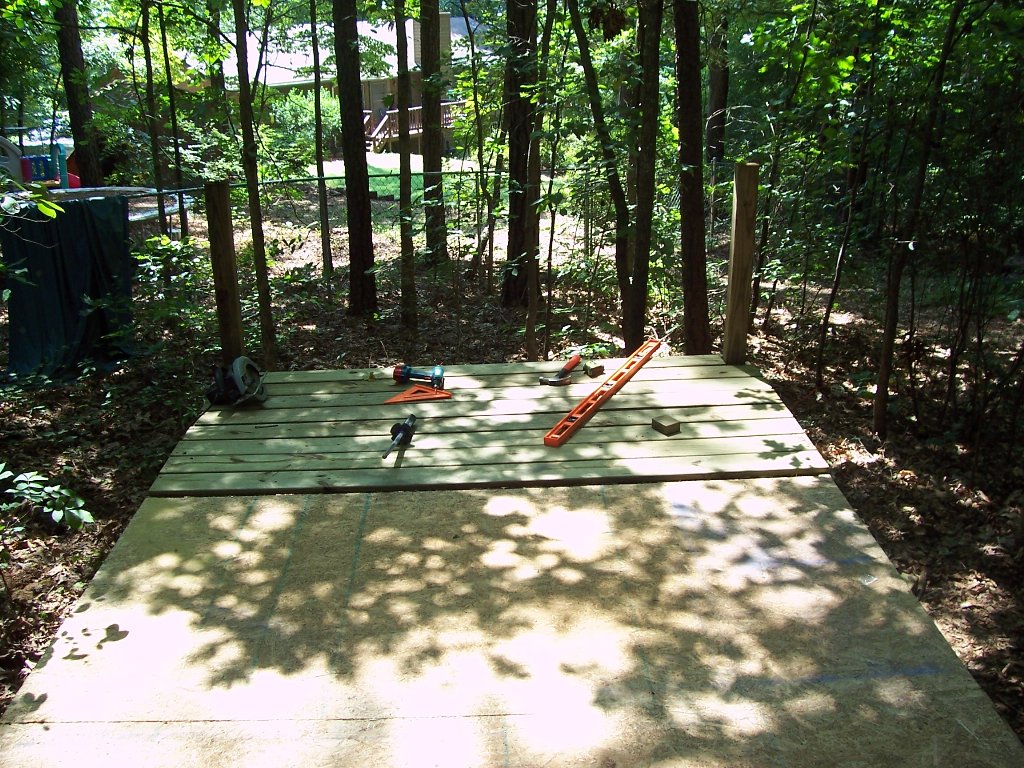
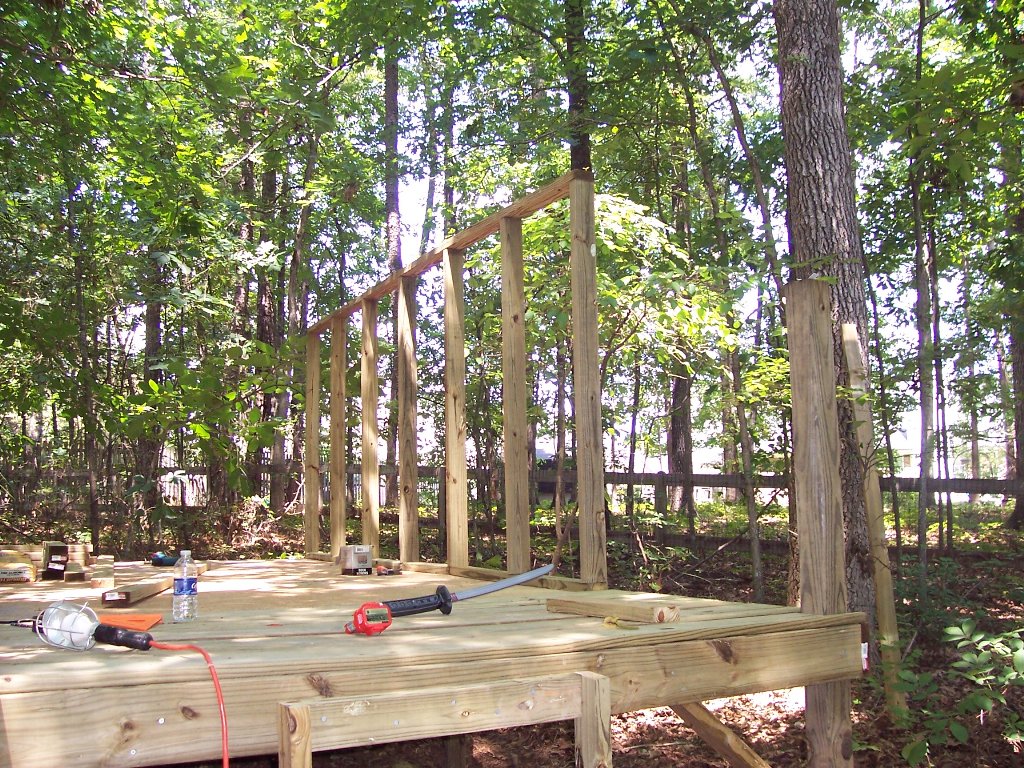
Build the Frame. It was kinda dark when I took the pics. I tried to get the posts straight and level the whole thing tonight. We'll start on the floor joists tomorrow. I plan on getting the plywood floor screwed on before I set the posts in concrete.
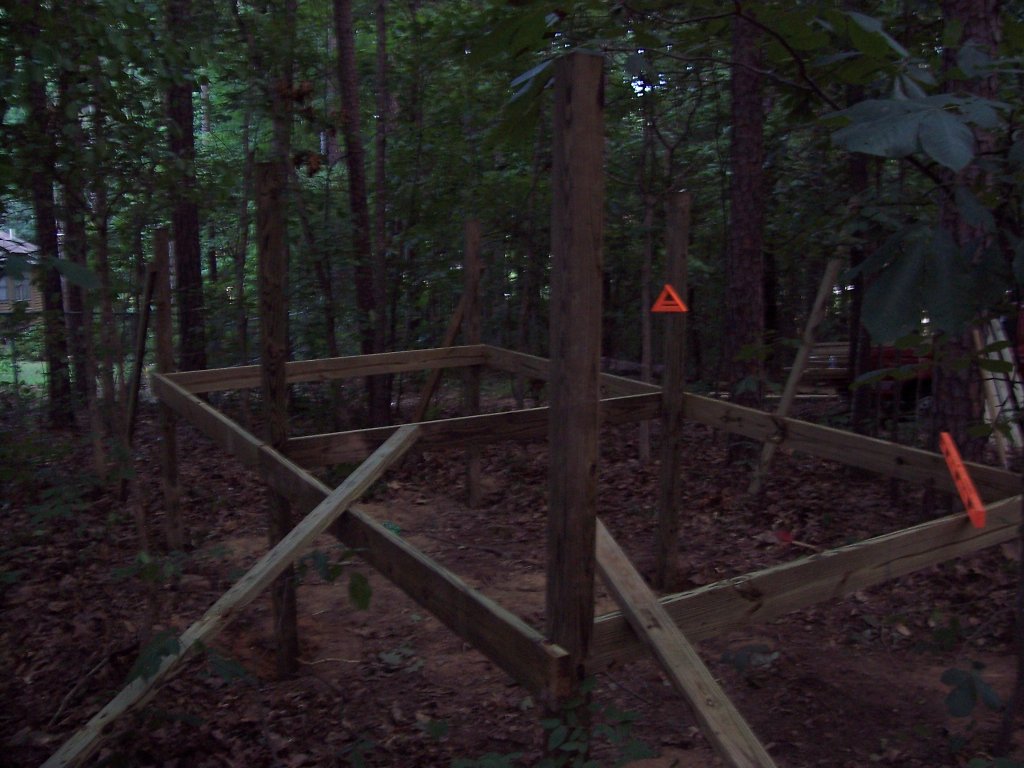
Tuesday August 17 2010 - Day 2 - 2 Hours
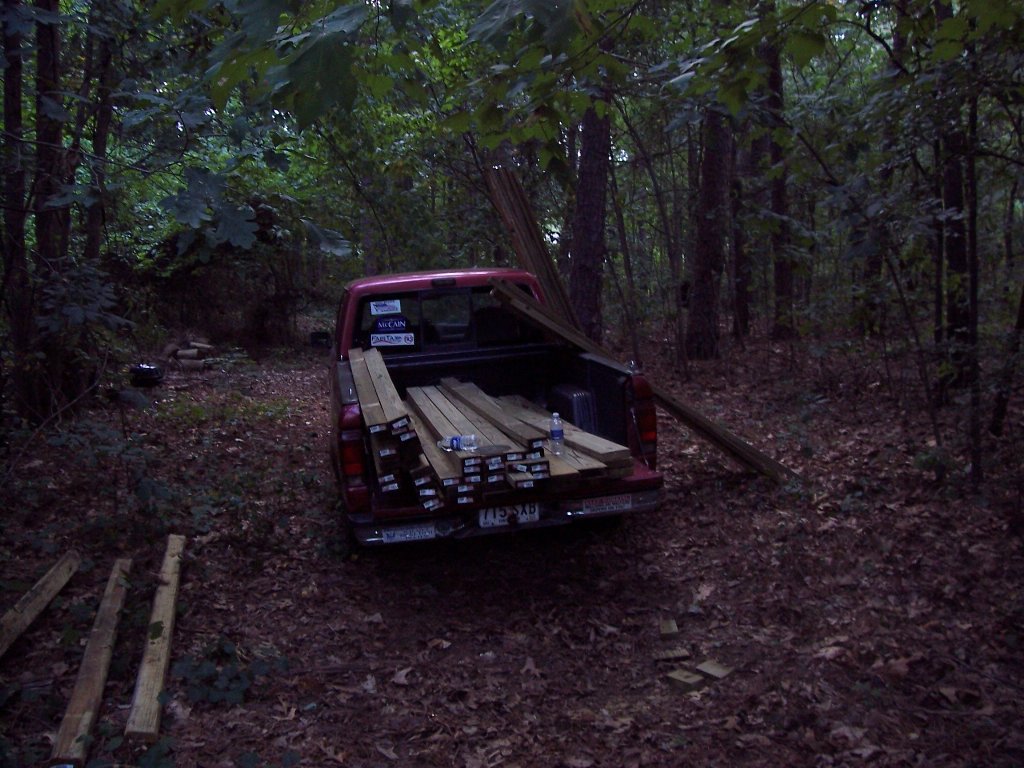
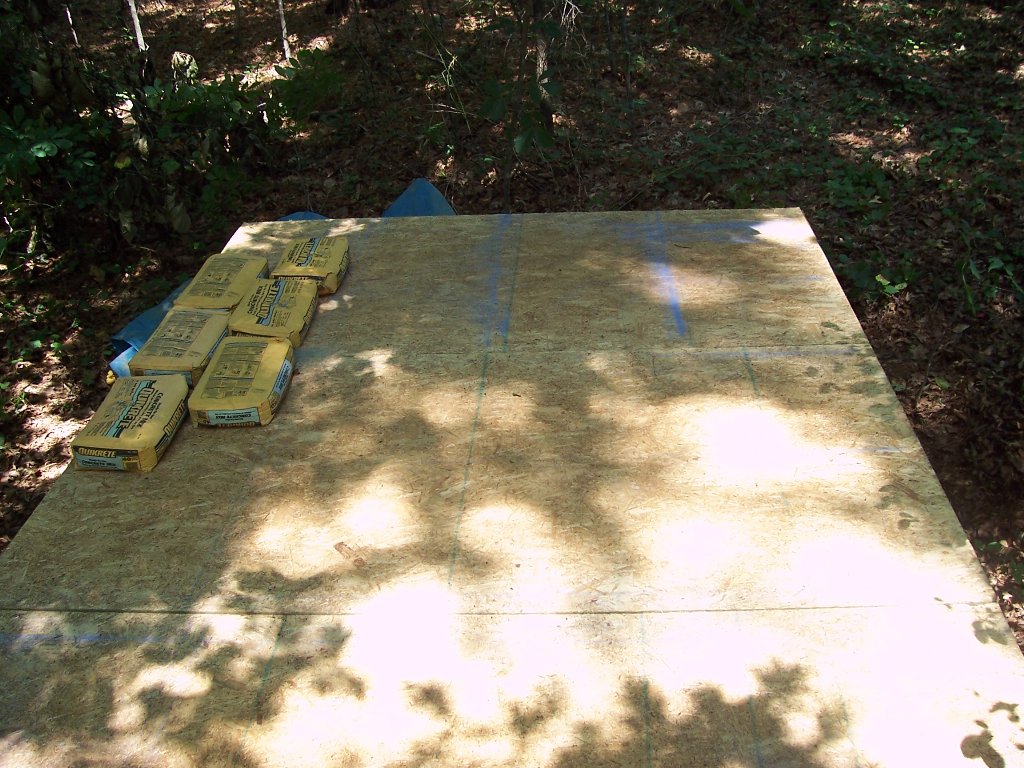
Started building the floor tonight. Unfortunatly my helper couldn't help due to required play time with friends. Seems this was written in the union contract, but I missed that part (that will teach me use child labor!). I should be able to finish the floor joists tomorrow night. After that I'll have to put the 2x4's somewhere so I can use the truck to get the plywood for the floor.
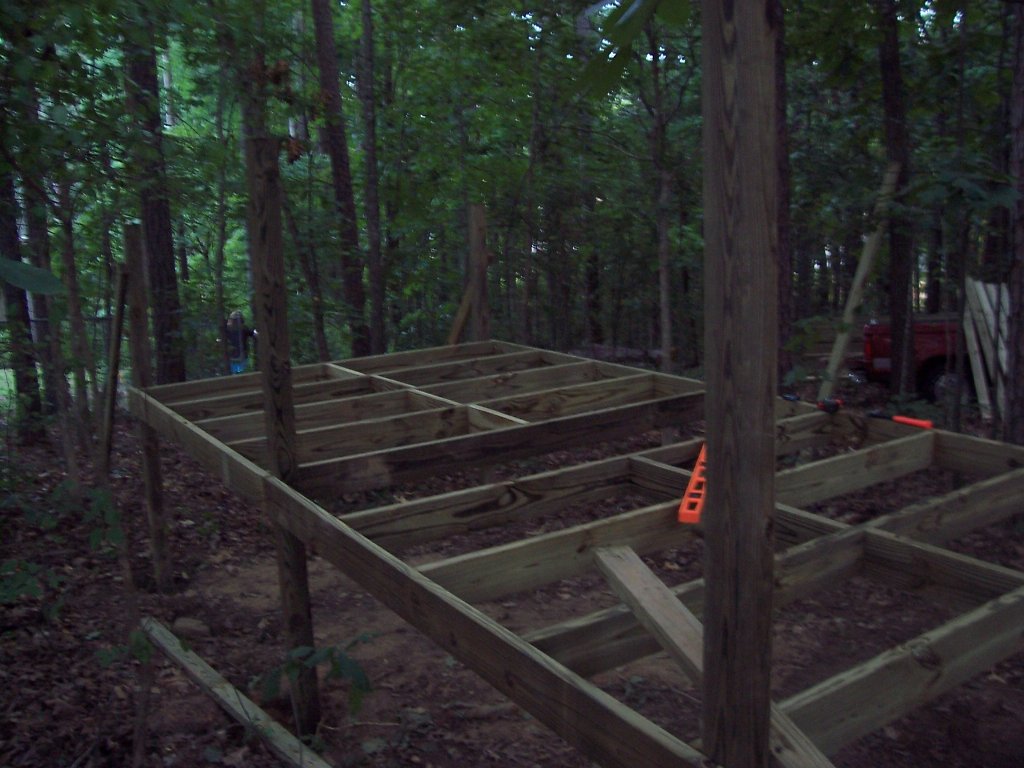
Wednesday August 18 2010 - Day 3 - about 1 hour
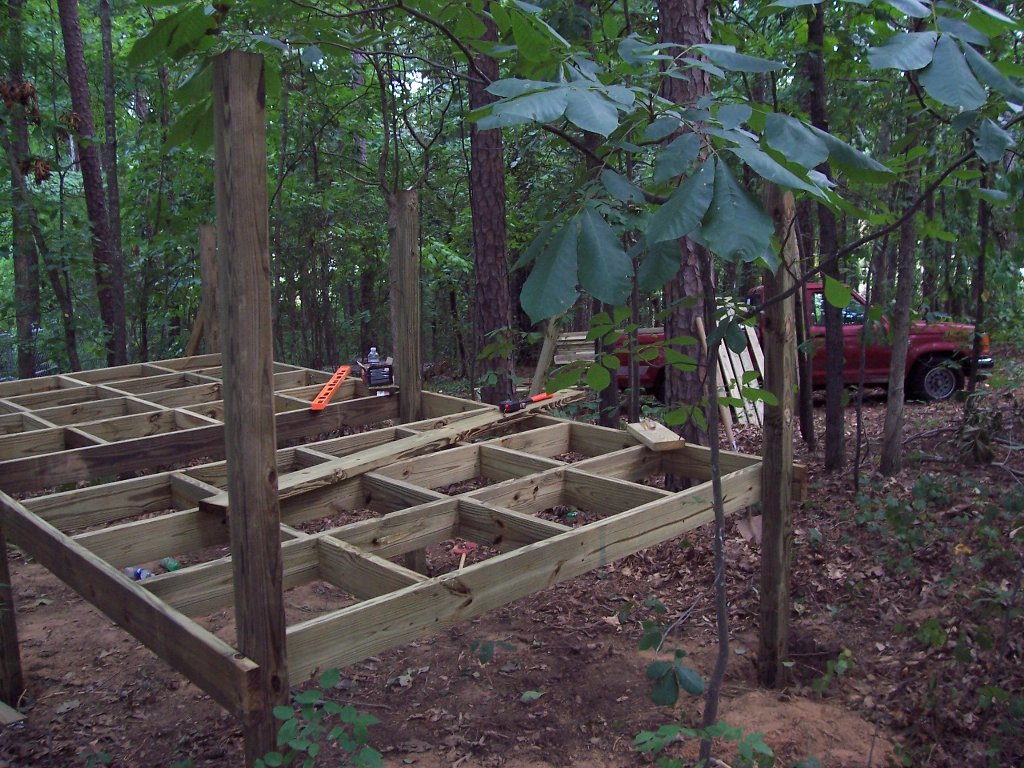
Almost got the floor joists finished. I have to build a section, then install it at the center 4x4s. After that I'll cut the 4 rear 4x4s level with the floor and add supports to the rear and center of the fort. Next I'll put the plywood floor down and the decking for the front porch. I'll try to get this done tomorrow, but it may be the weekend before I do too much more.
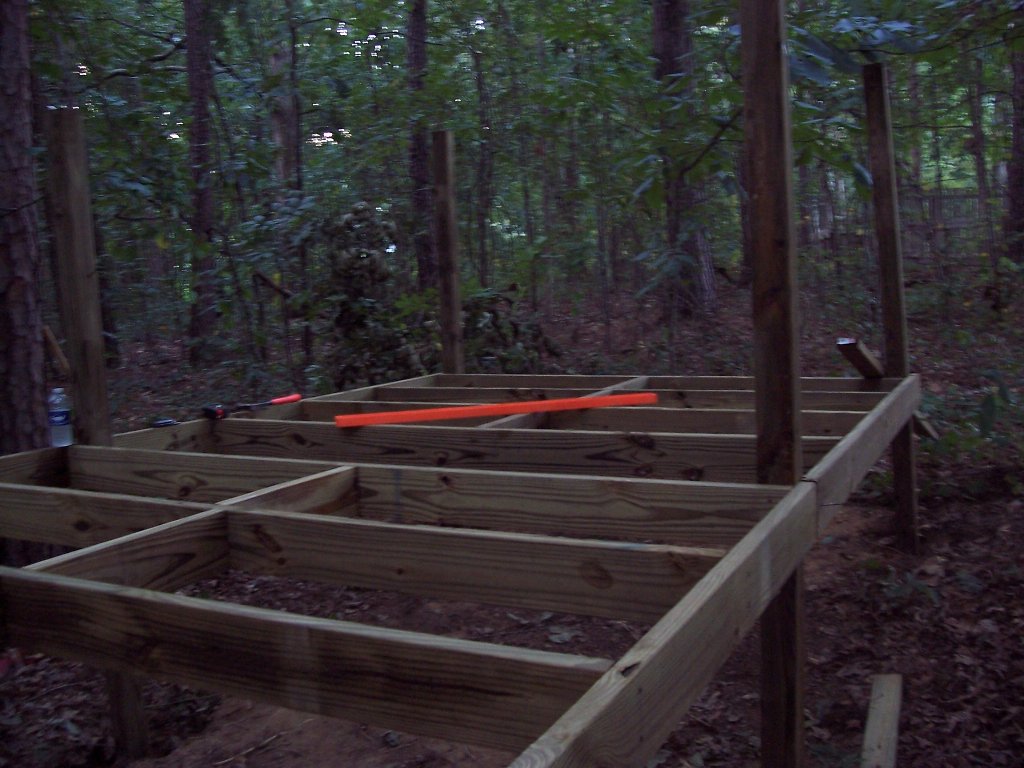
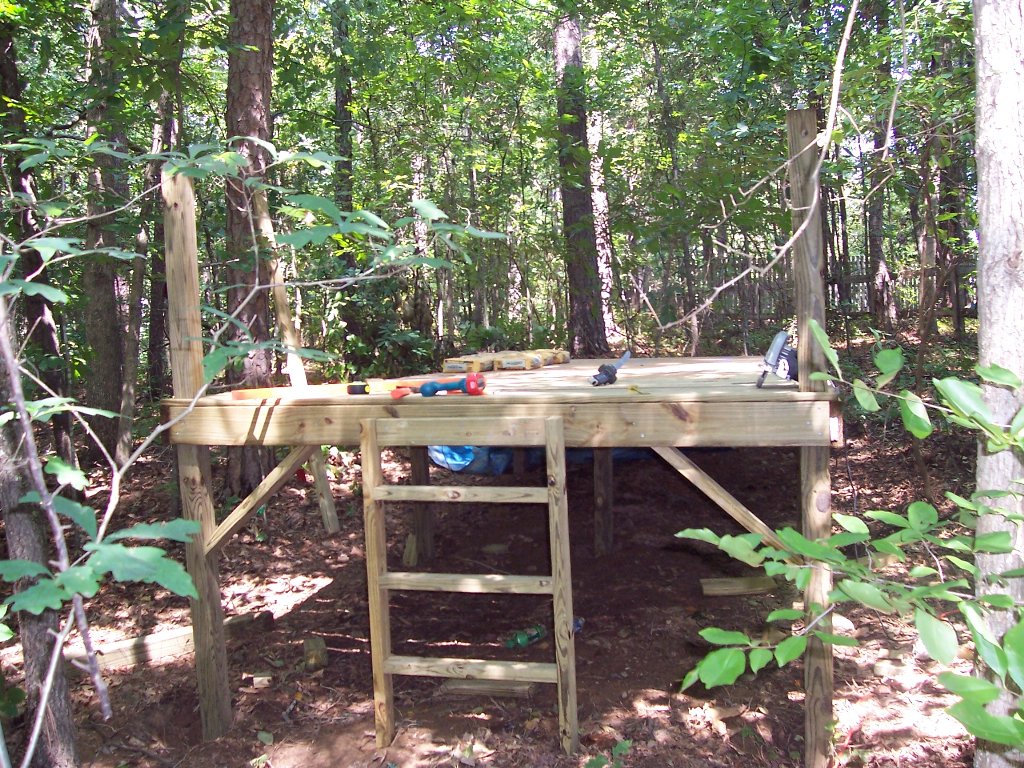
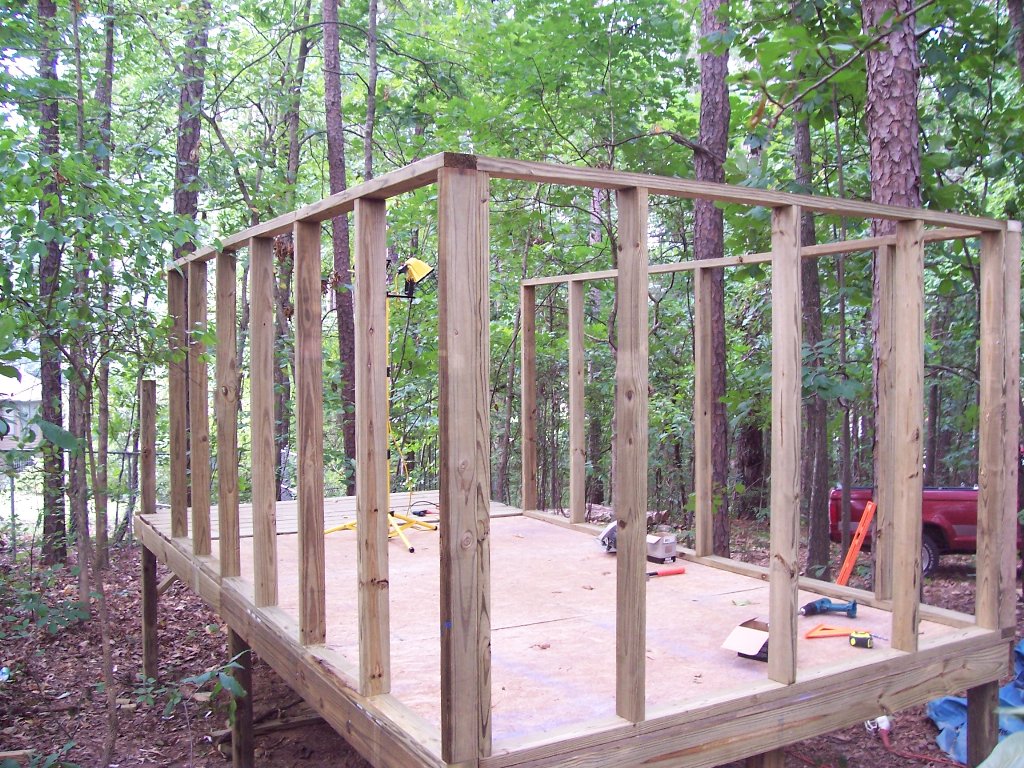
Saturday August 21 2010 - Day 4 - 4 hours
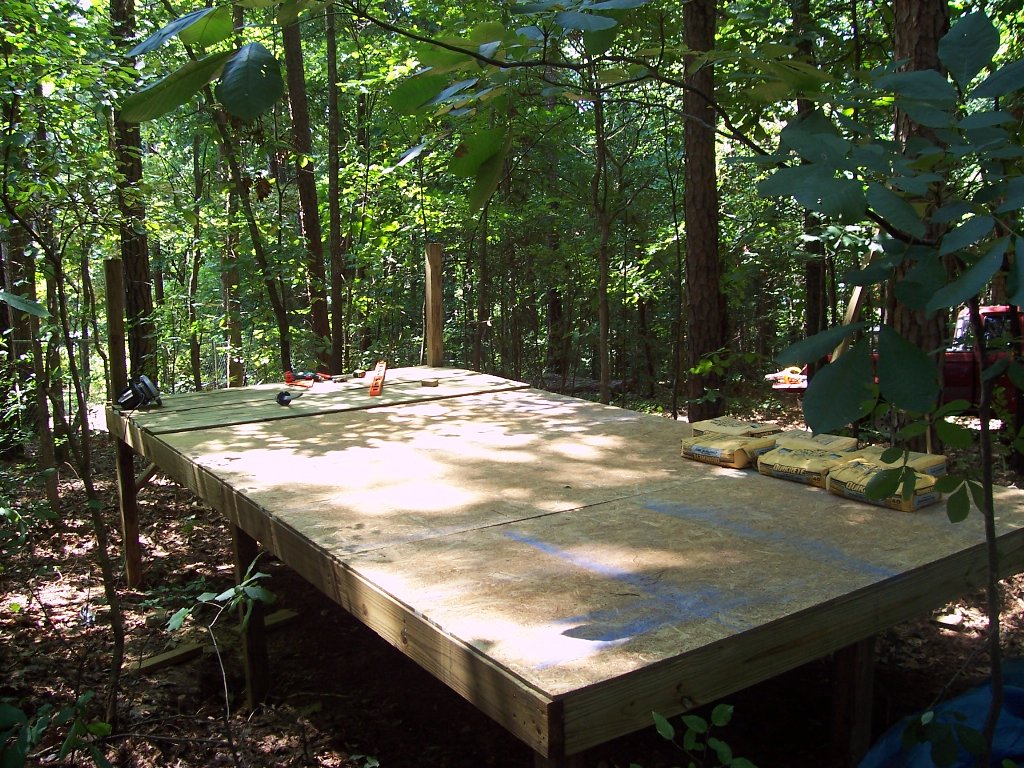
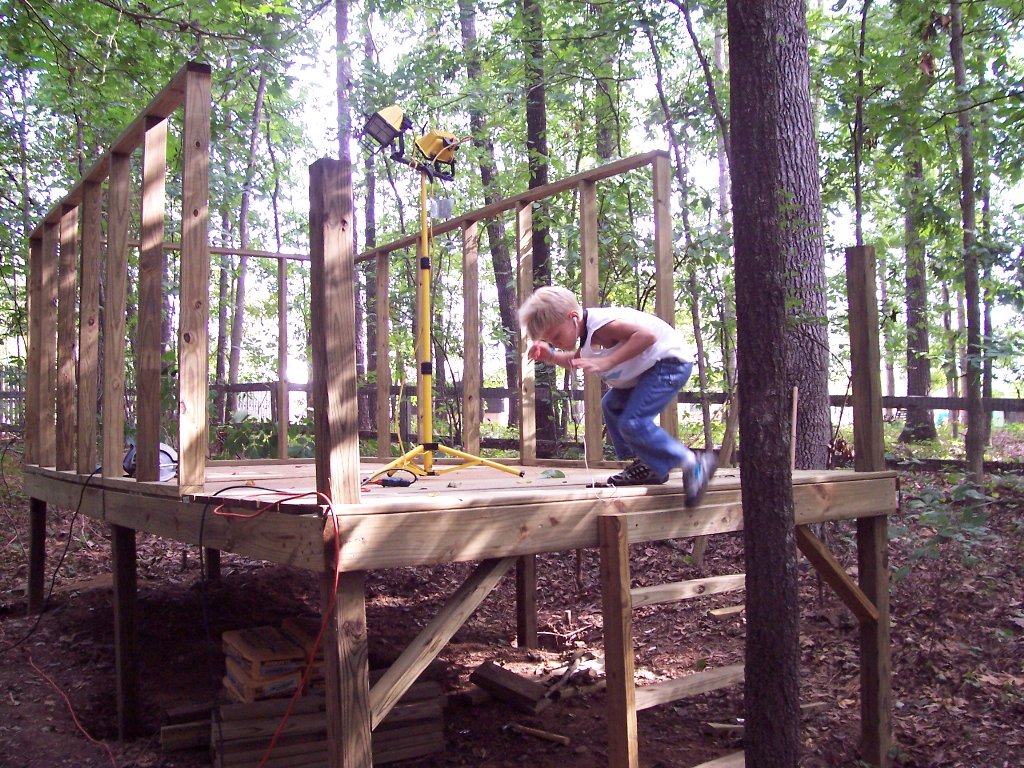
Finished the floor today. Friday I built the last floor joist and installed that (took about 45 minurtes). Today I installed 2 additional supports and put down the plywood floor and the decking. I also built the ladder and put some braces on the front 4x4s to help keep the front from wobbeling. It felt very sturdy with 2 boys playing ninjas, but a little more support can never hurt - and it looks good! I think I could leave it like it is and they'd have a ball, it's kinda like having their own stage in the woods.
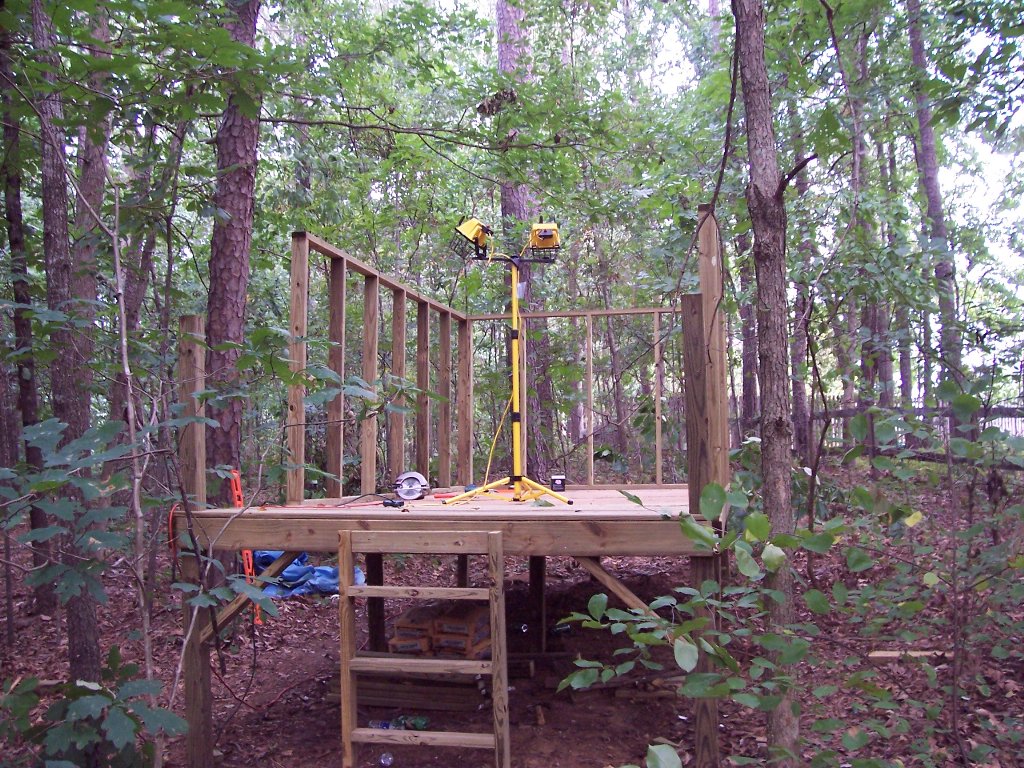
Sunday August 22 2010 - Day 5 - about 1.5 hours
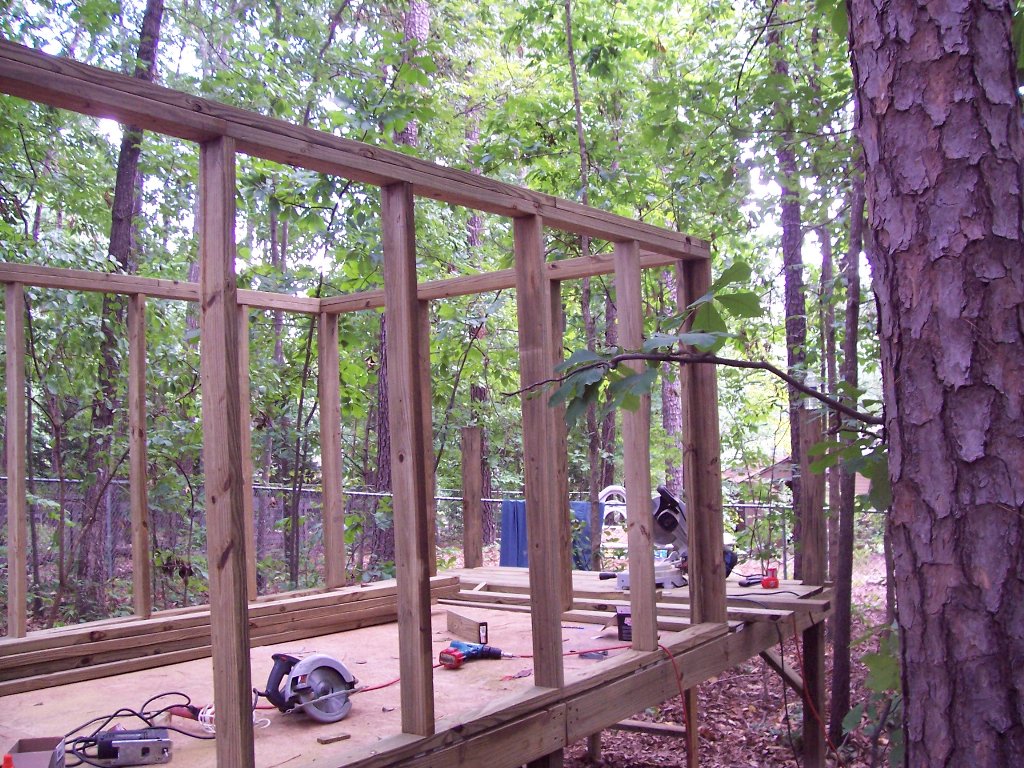
Built a wall today, but not much else. I spent about half of the time cutting wood for the 4 walls, but only built the one.
Here's what it looks like from the back yard right now. The fort is about 35 feet outside of the fence. It's just to the right of the center in the picture..

Friday August 27 2010 - Day 8 - 1.5 hours
Didn't do anything at all this week to the fort.
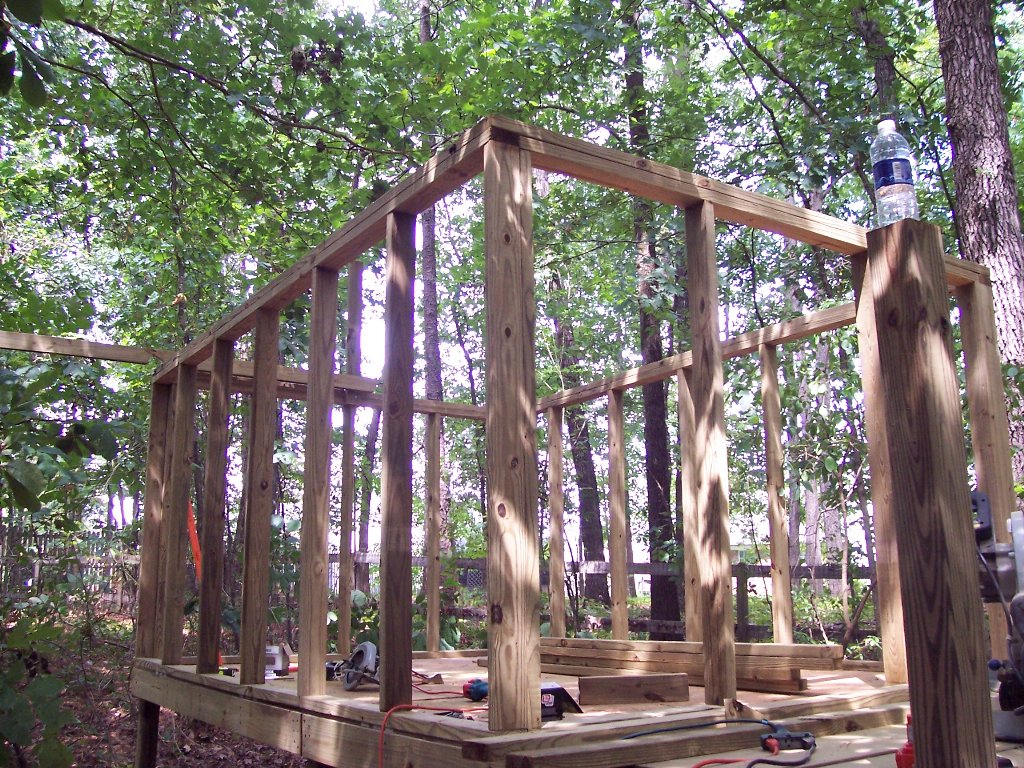
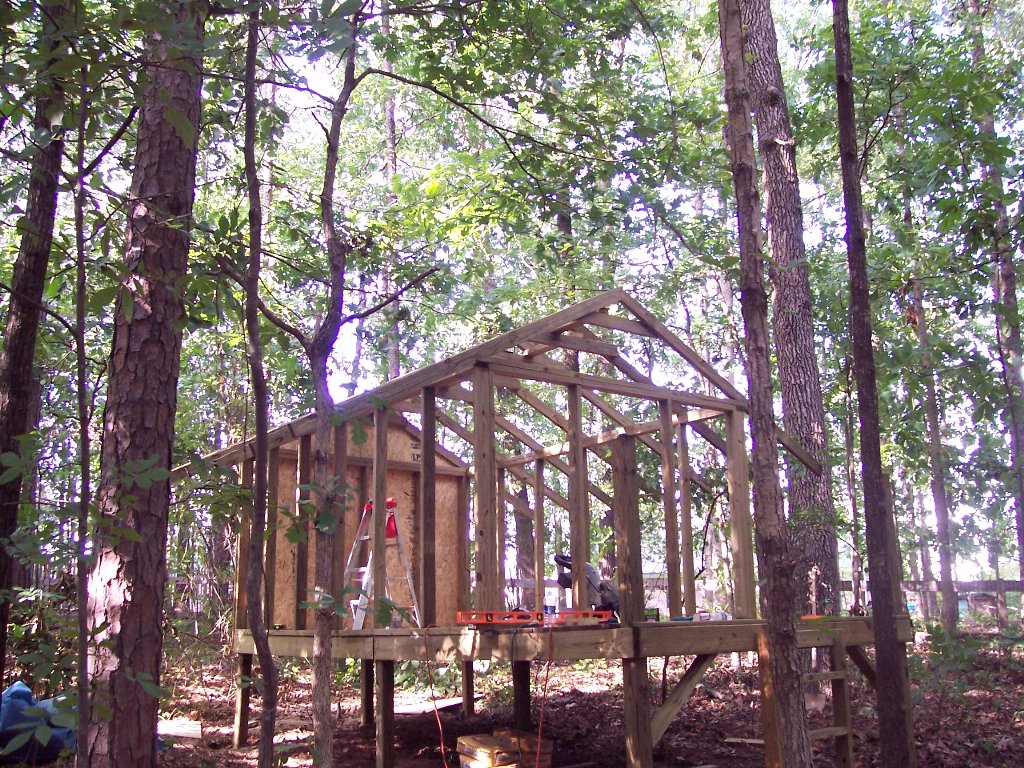
We have 2 more walls up now, and the wood is cut for the front wall. We started about 7 or so and knocked off about 8:30.

CJ and Nathen hard at work...
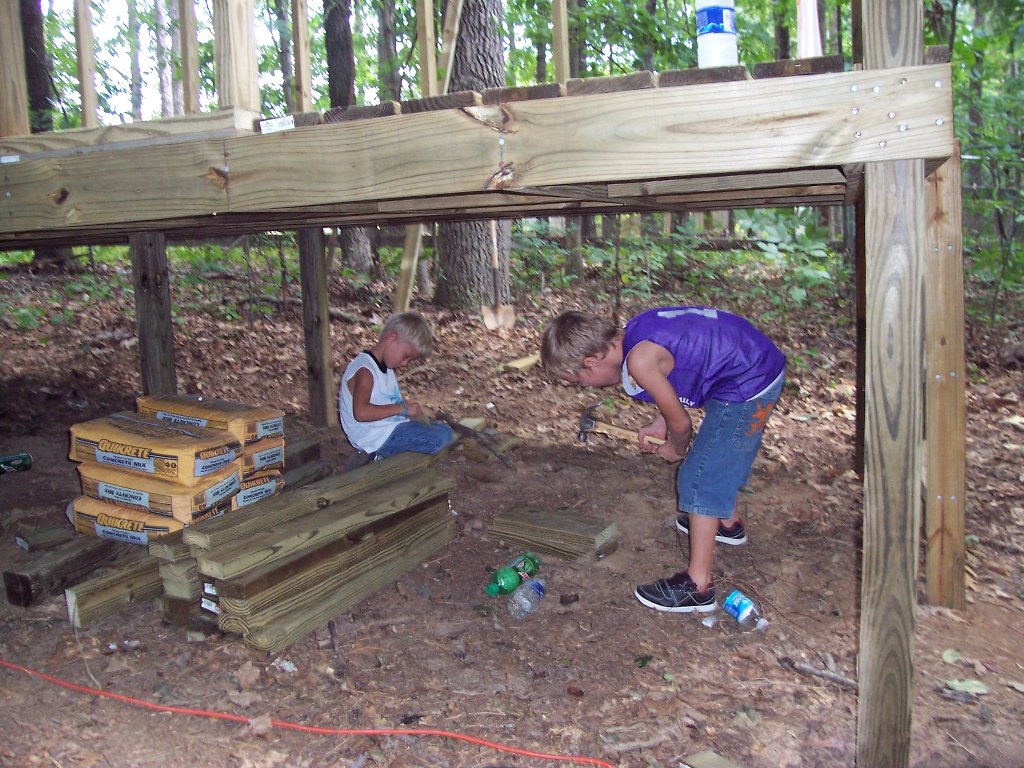

Saturday August 28 2010 - Day 7 - about 6 hours
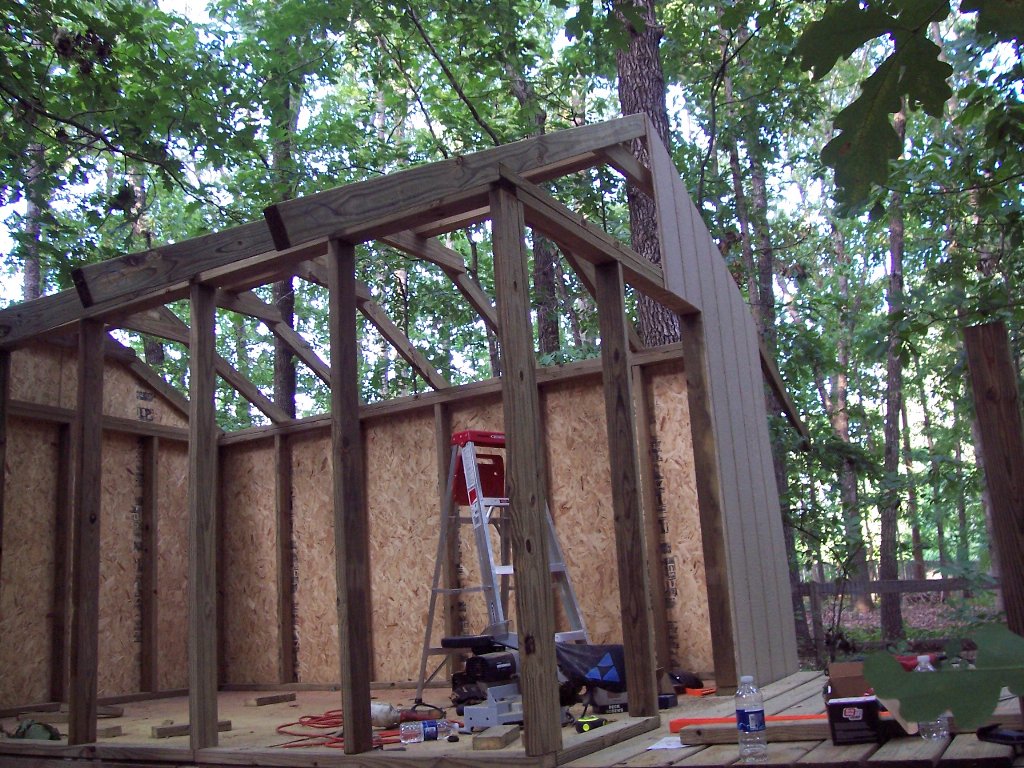
Today we finished the front wall...
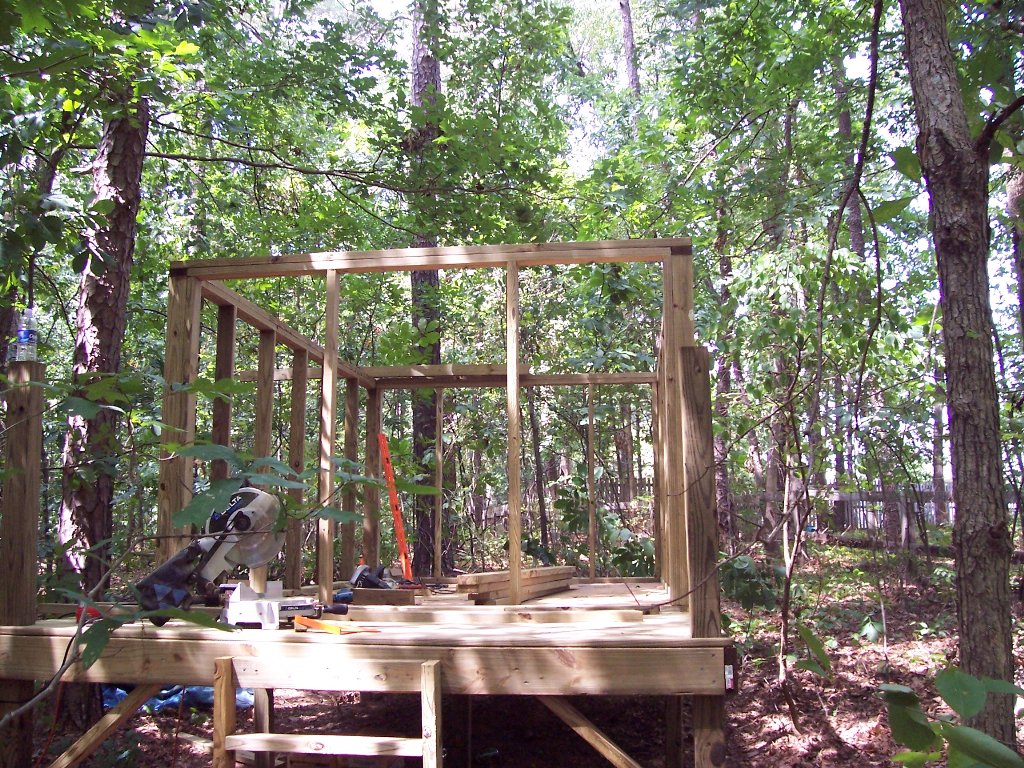
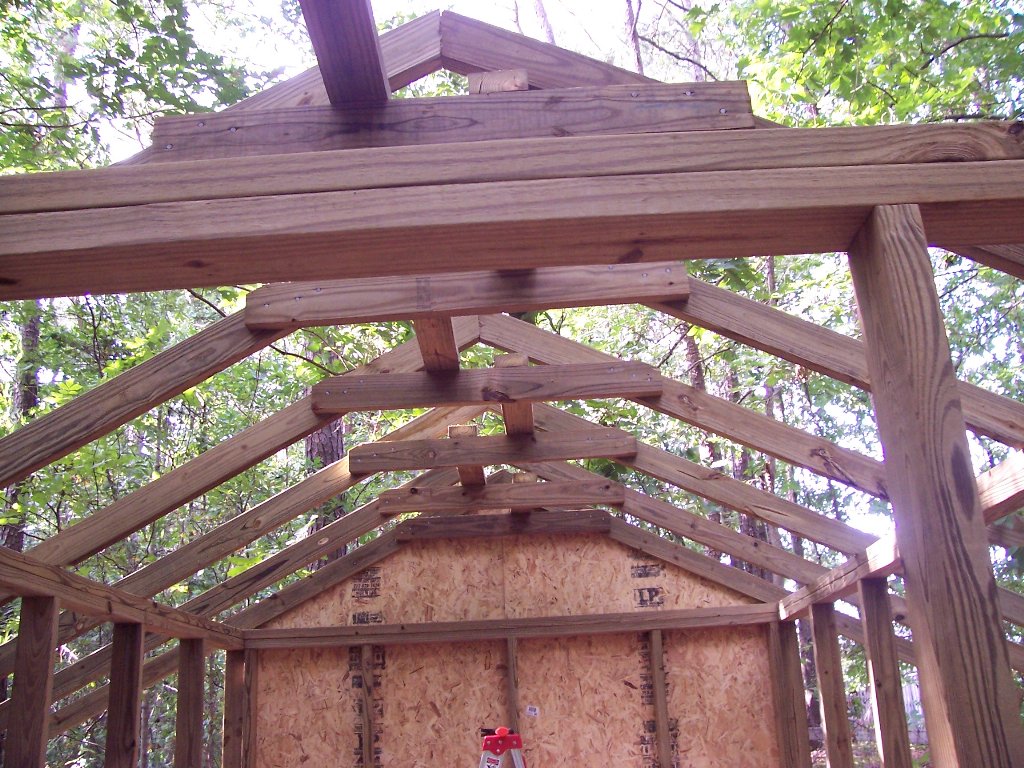
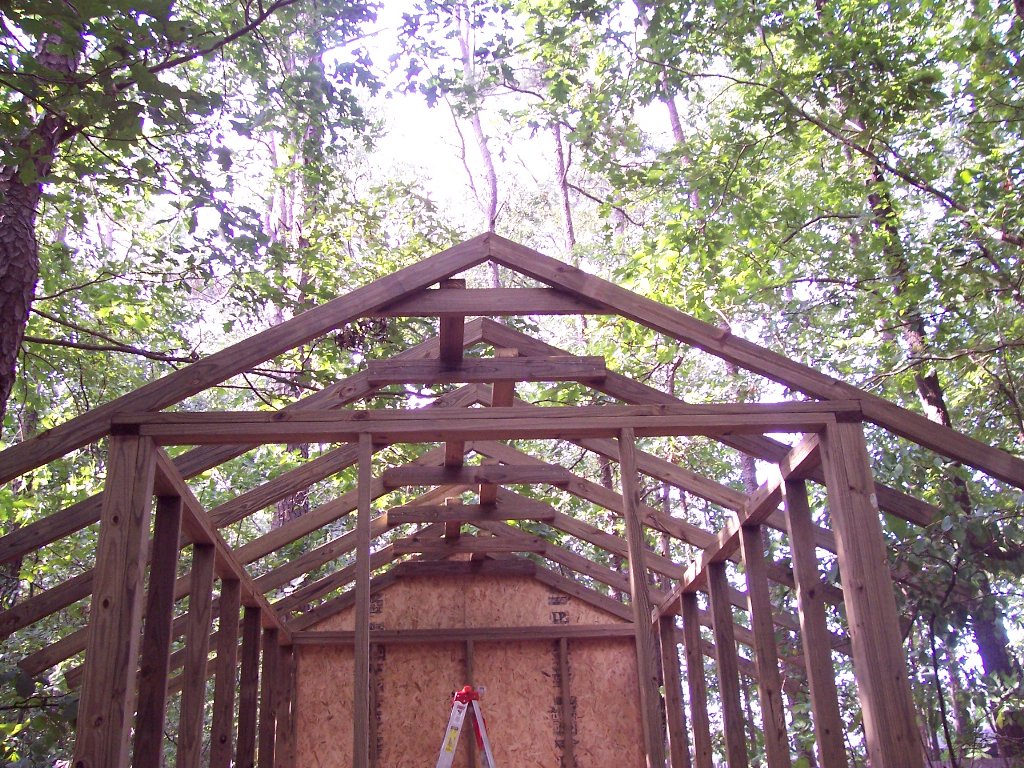
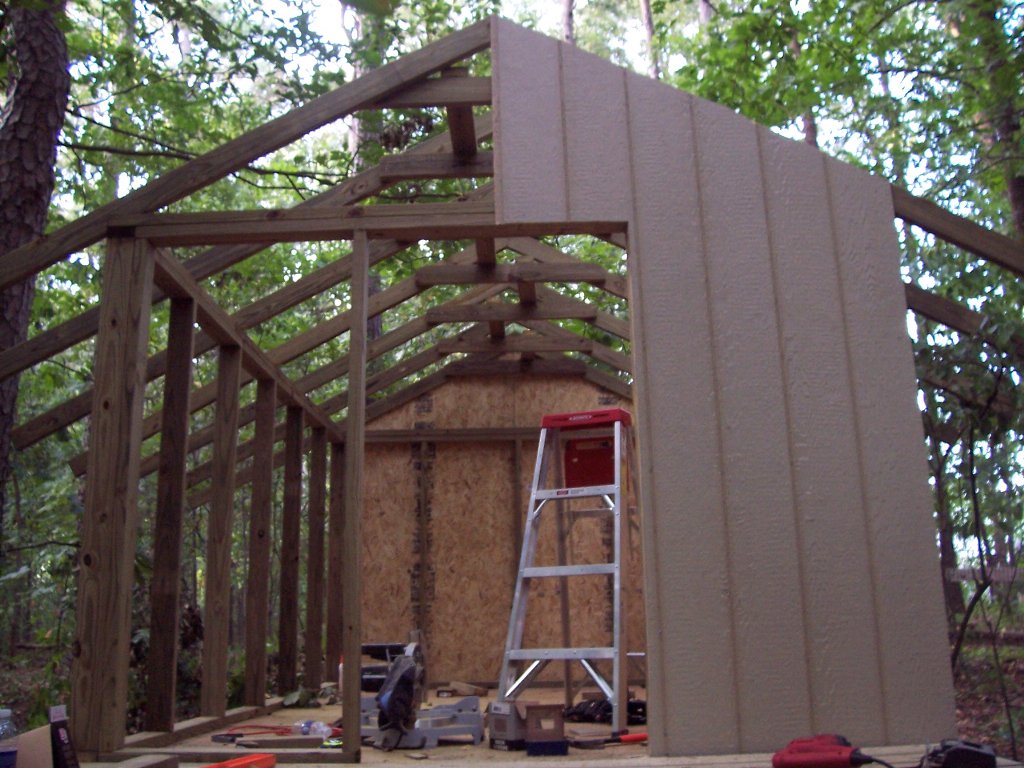
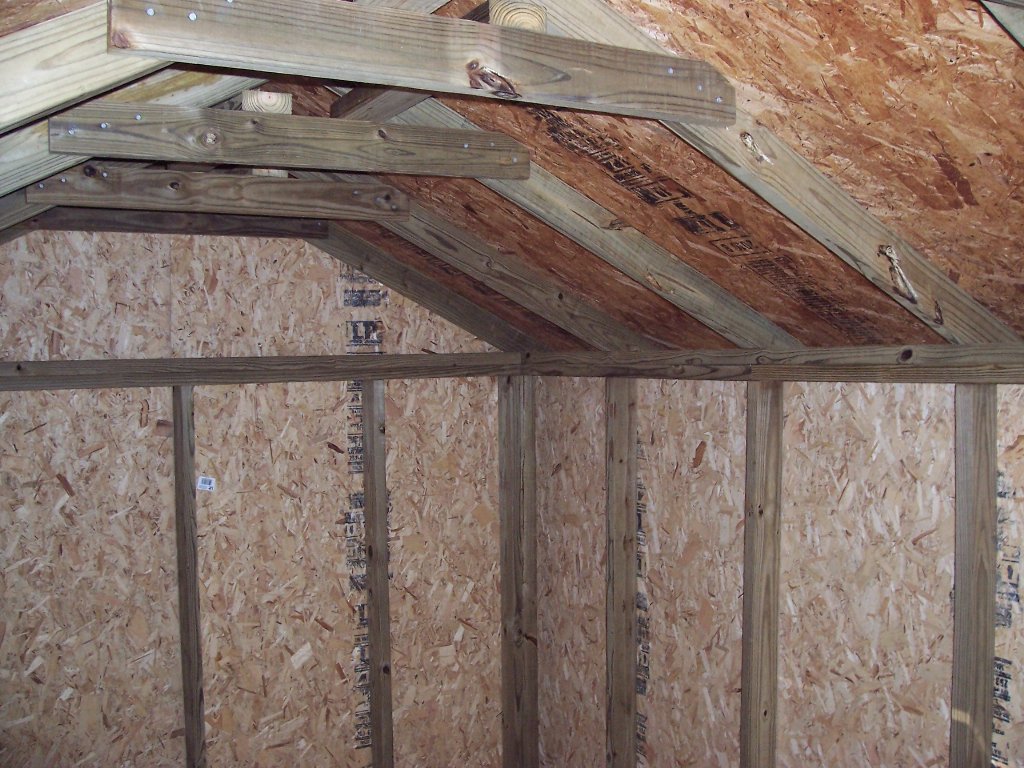
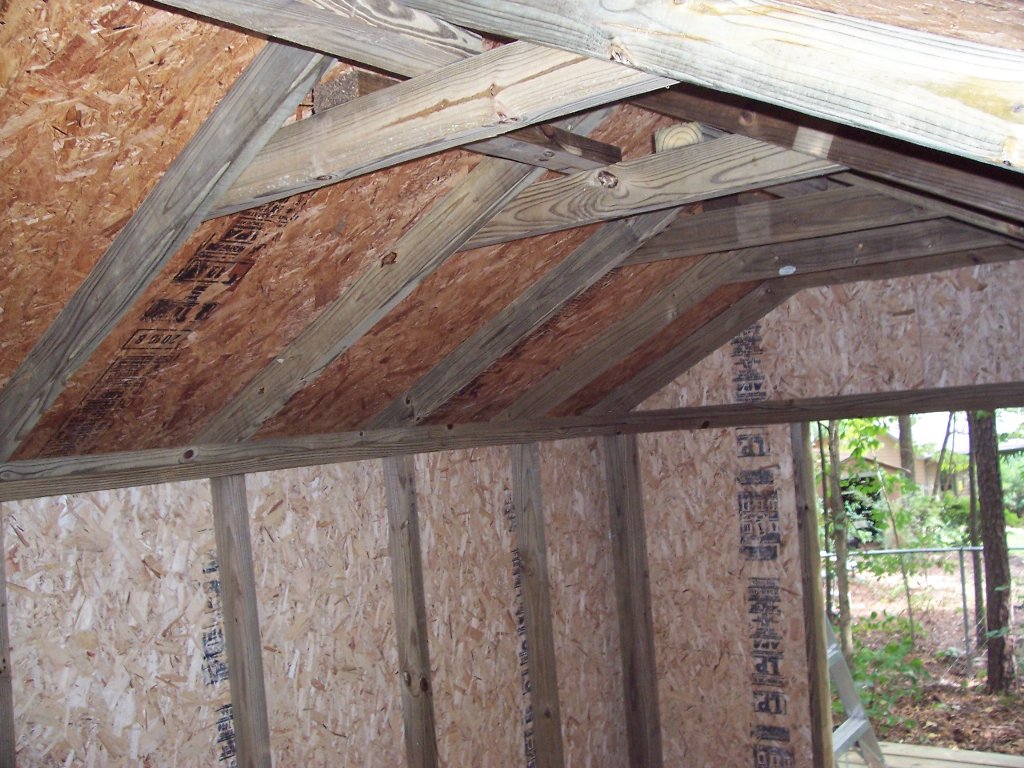
Built and installed the rafters...
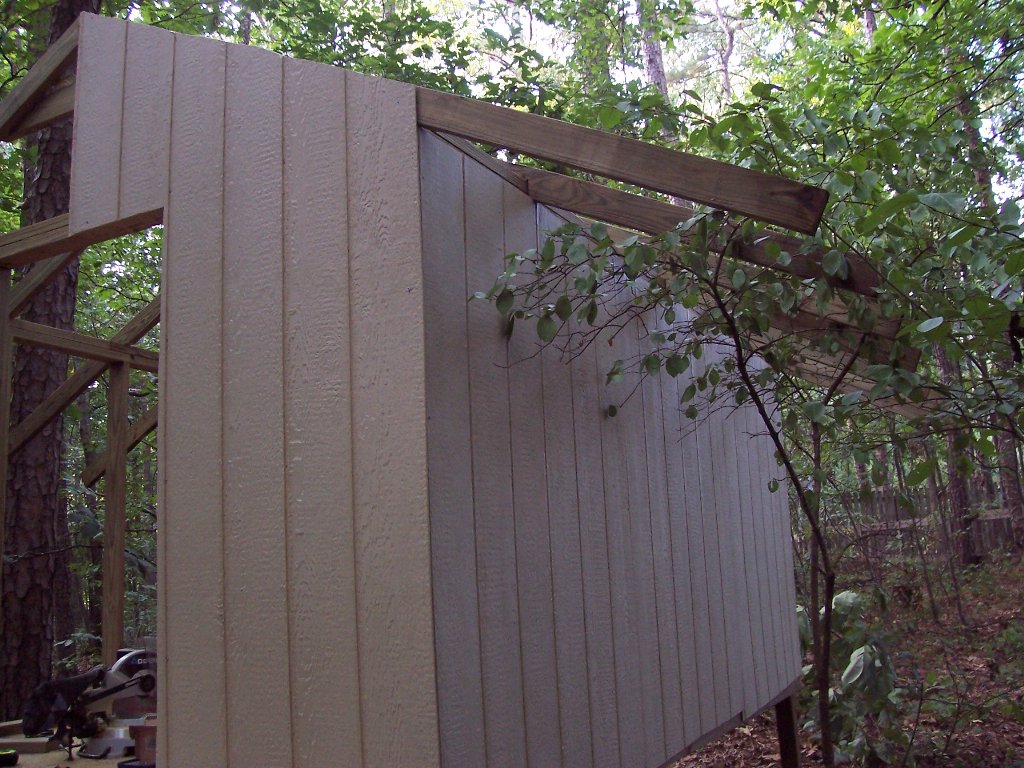
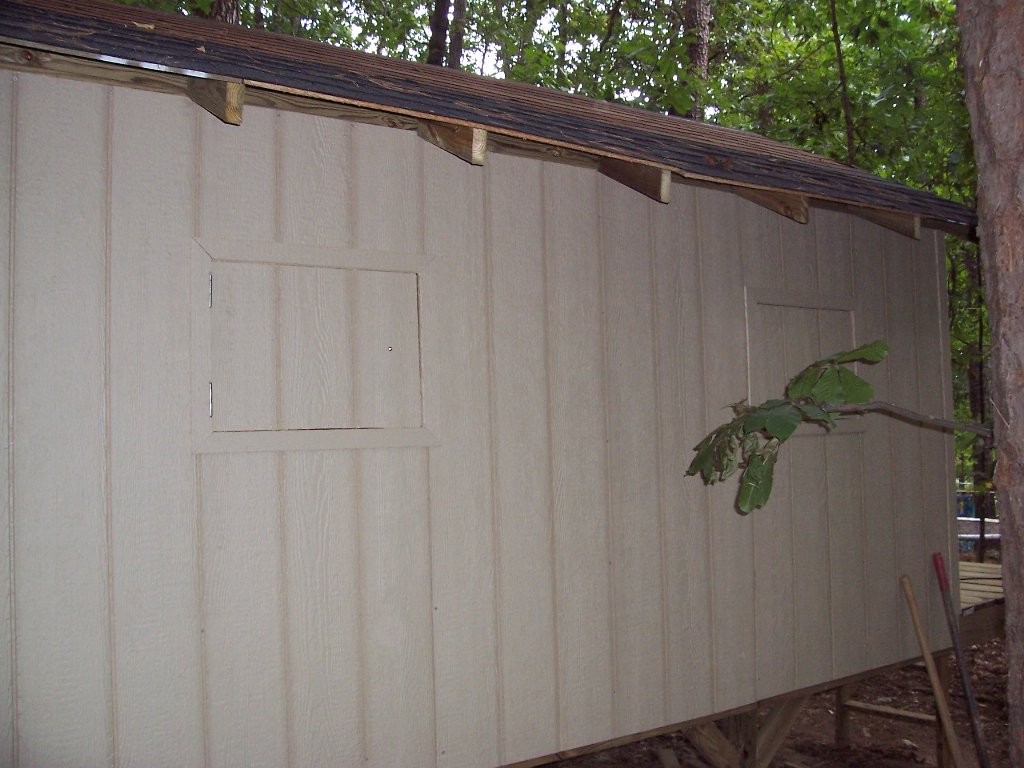
And started putting up the siding...


I think CJ and Nathen are starting to get excited...

Sunday August 29 2010 - Day 8 - about 6 hours
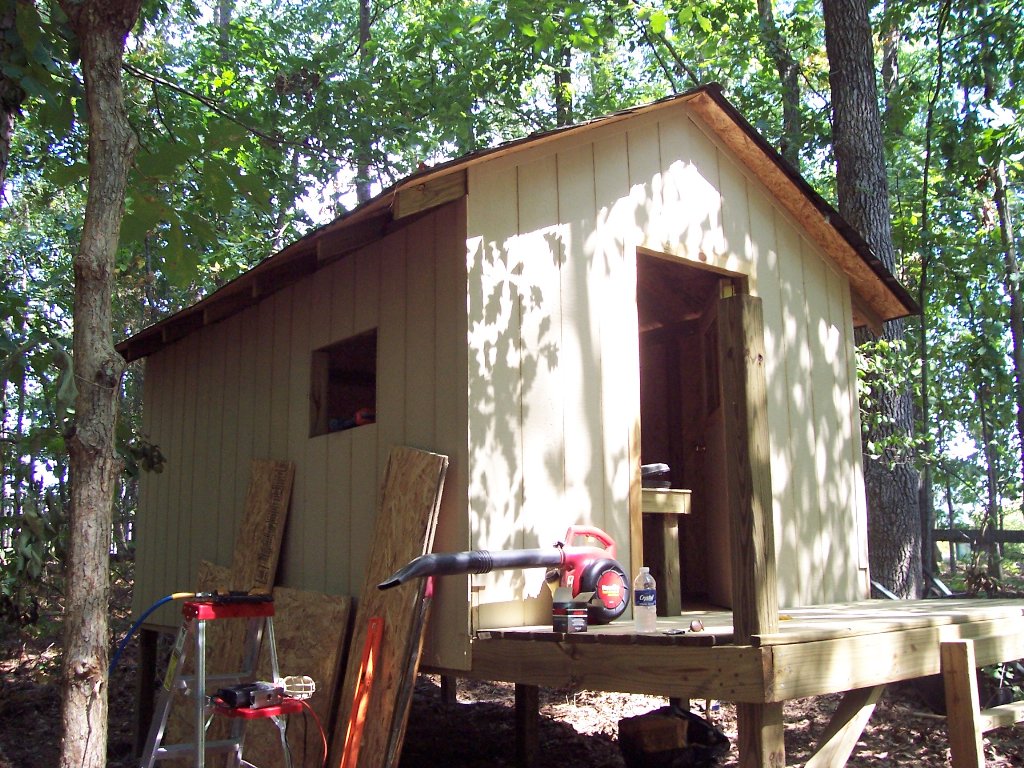
Finished the siding...
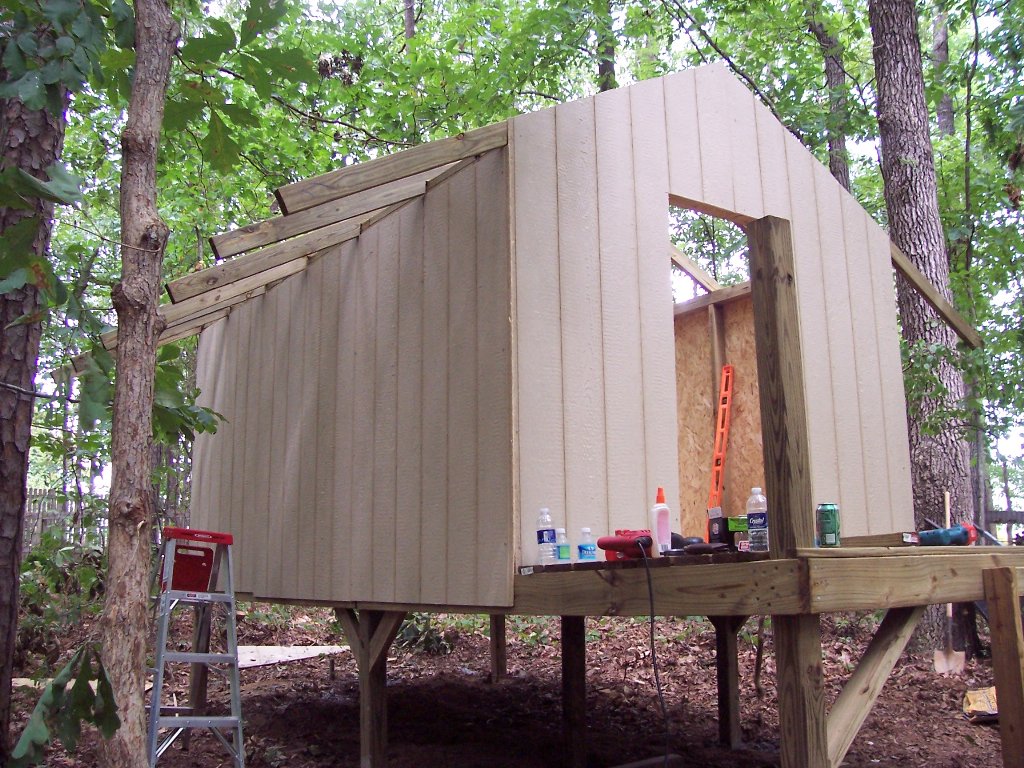

plywood on the roof...


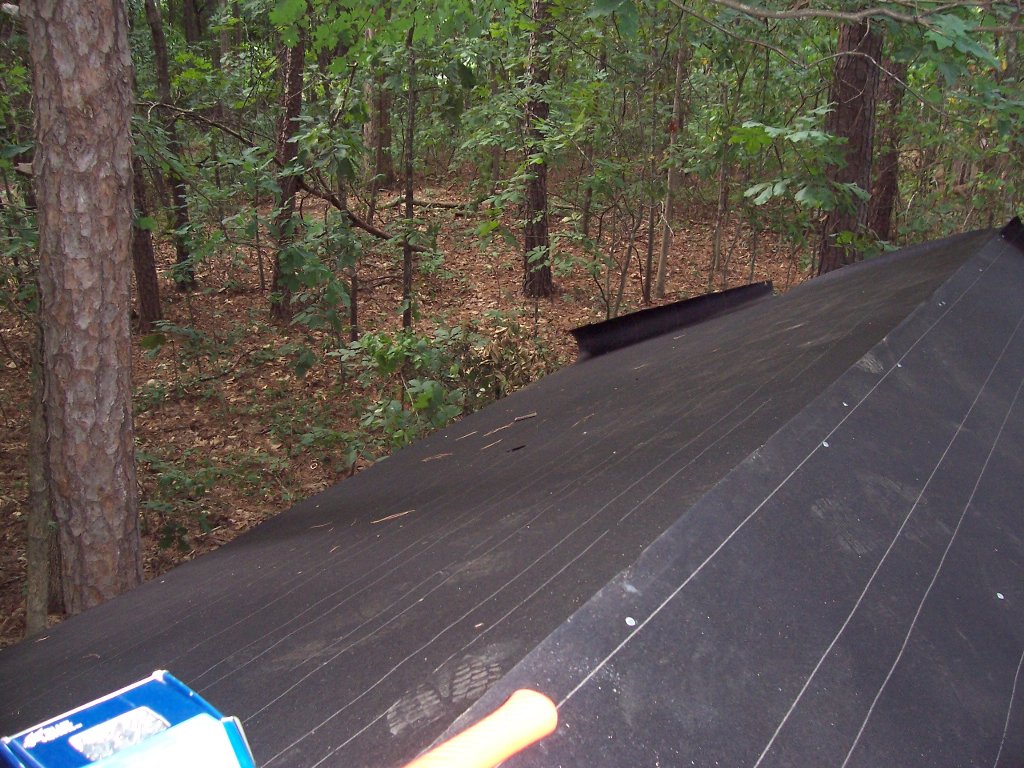
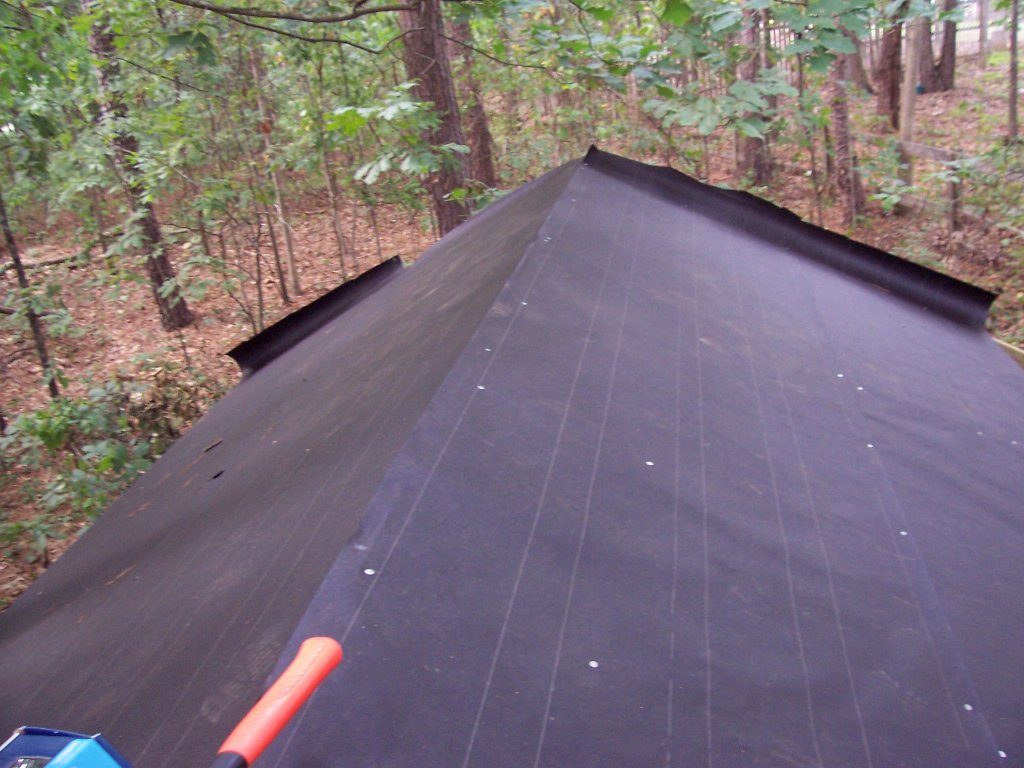
And tacked the tar paper on the roof - all that's left are shingles (well windows and a door too)!! I had a used roll of tar paper from when I built my shed, so I didn't have to buy this. Someone must have been watching out for me, I had exactly enough for CJ's fort - to the inch!

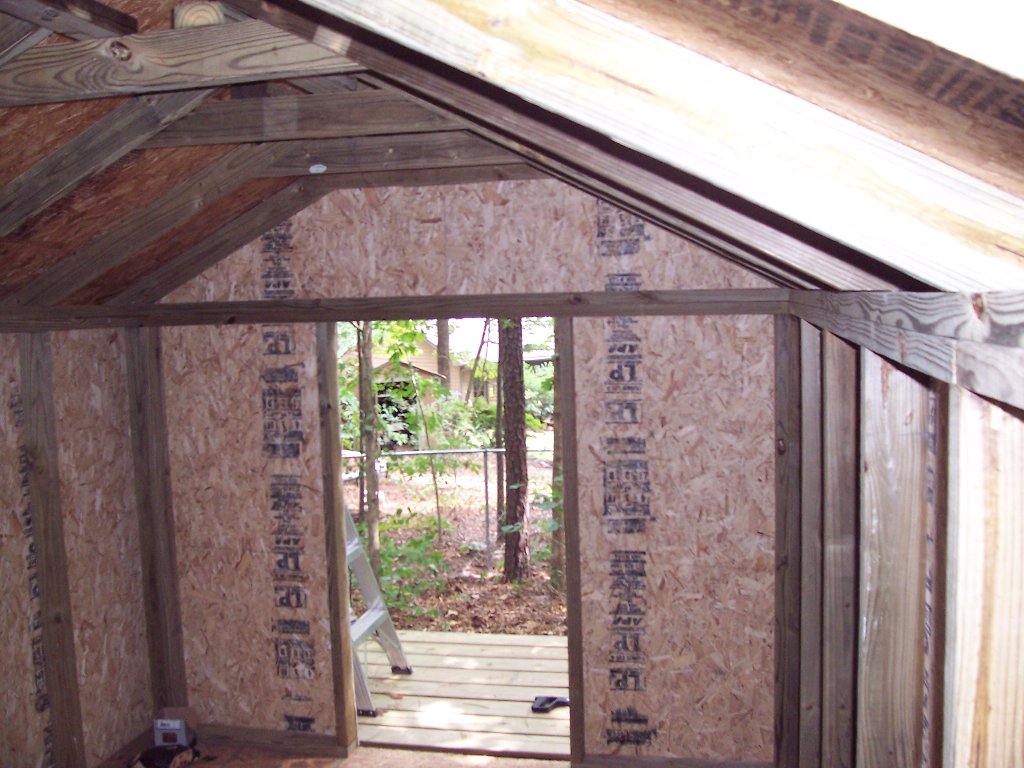
Here's what it looks like from the inside at the end of day 8...
Friday September 3rd 2010
Welp, no pictures as of now (to dark), but the roof is finished. It took about 2 1/2 - 3 hours I guess to put the shingles up. CJ was a lot of help with this part! He kept bringing me shingles, which I REALLY appreciated. It made it a lot easier then me having to climb down to get them every time I ran out. Had we done it in one sitting I'd figure about 1 1/2 hours, but we did it for a little bit when I got home over 3 days this past week. I'll get some pictures before we start on the windows and door Monday.
I believe that someone that helped me out with the tar paper was there with the shingles too. I had bought 4 open bundles from Lowes, and had 1 open bundle in my shed. Believe it or not, I had exactly the right amount of shingles! Actualy I had about 3/4 of one shingle left over!!
Saturday September 4 2010 - Day 11 - about 5 hours
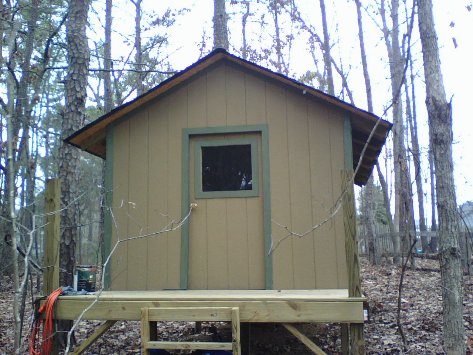
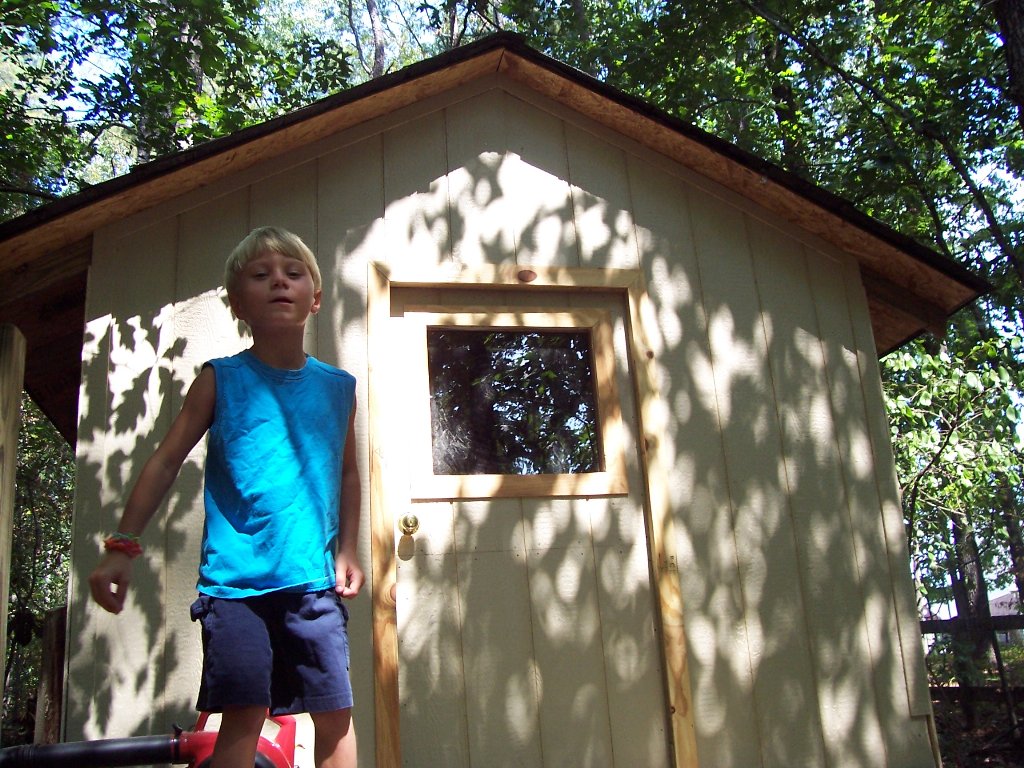
Finished the fort (almost). Need to cut 2 more windows and paint it. I work across the street from a Porter Paint store, so I figured I'd ask them if they had any Ooops paint - I was very happy I did! I got 5 gallons of good exterior paint for $25.00!! They had some that could be tinted to brown, which works out very well since this is the color we wanted to paint it :)


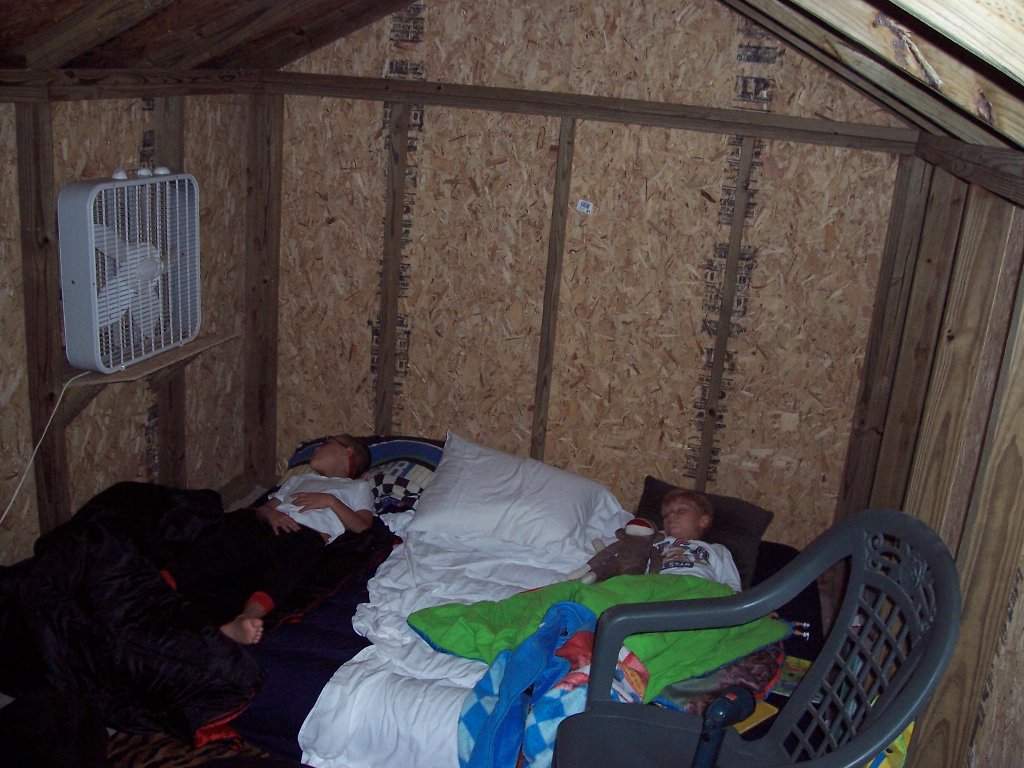
Saturday September 4 2010 - Spent the night in the fort!!!!
Had a radio, TV and Xbox - we were set!! We played games for a while then watched a movie before going to sleep. Woke up about 9:15 or so the next morning - everybody had a good time!
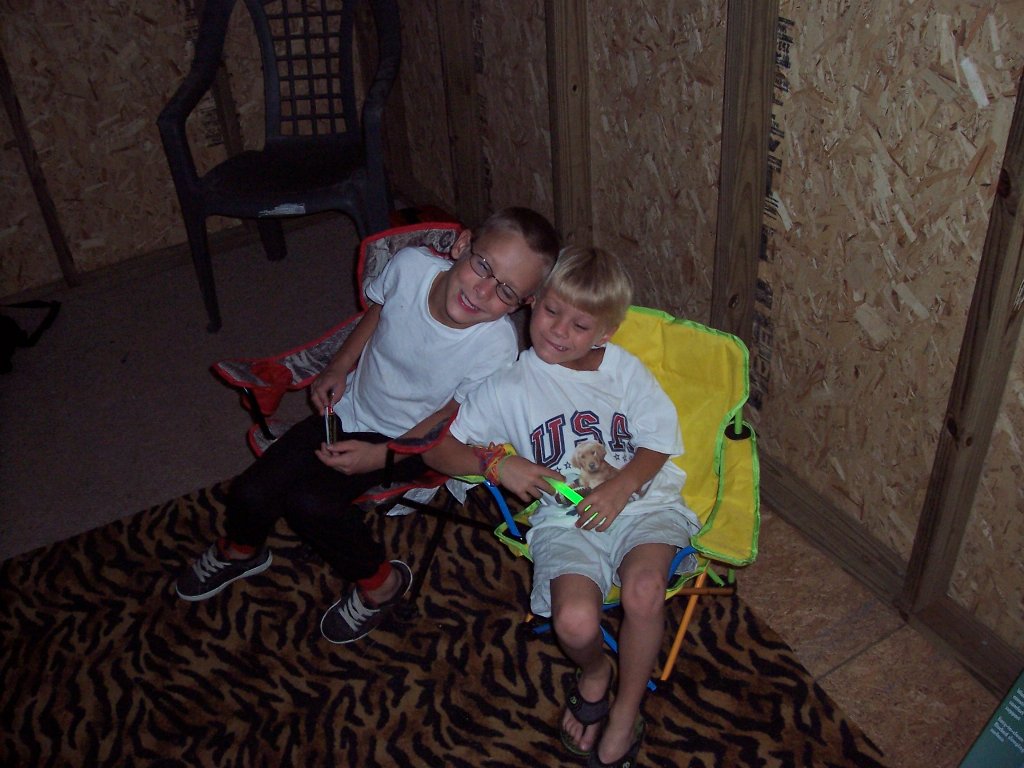

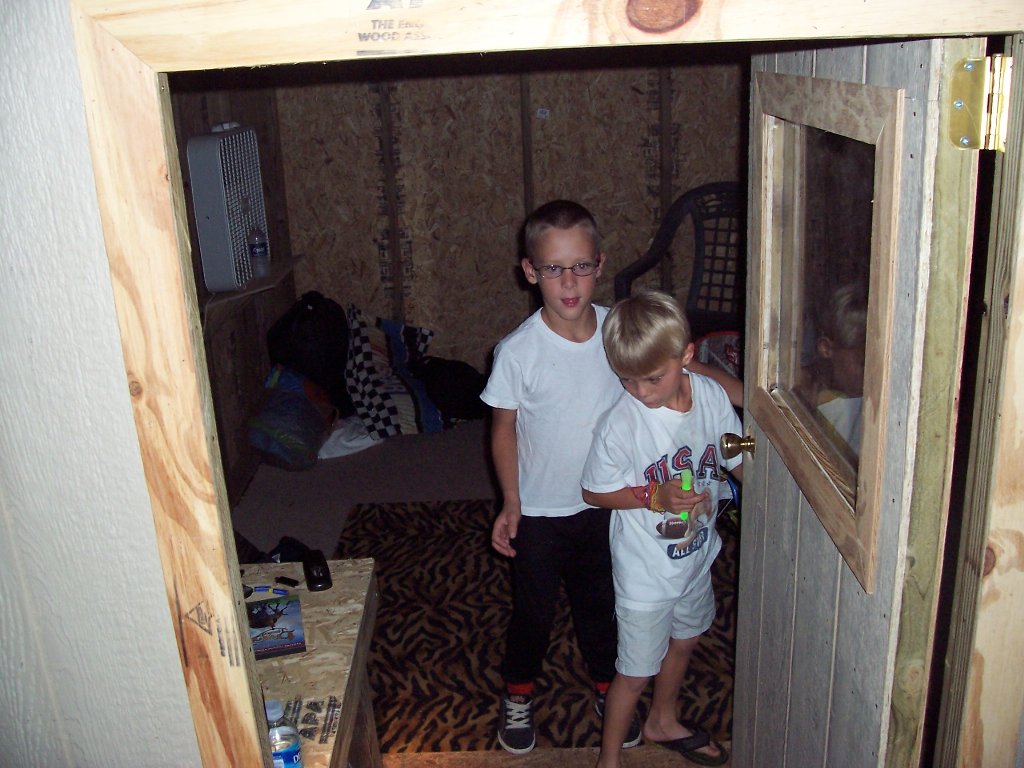
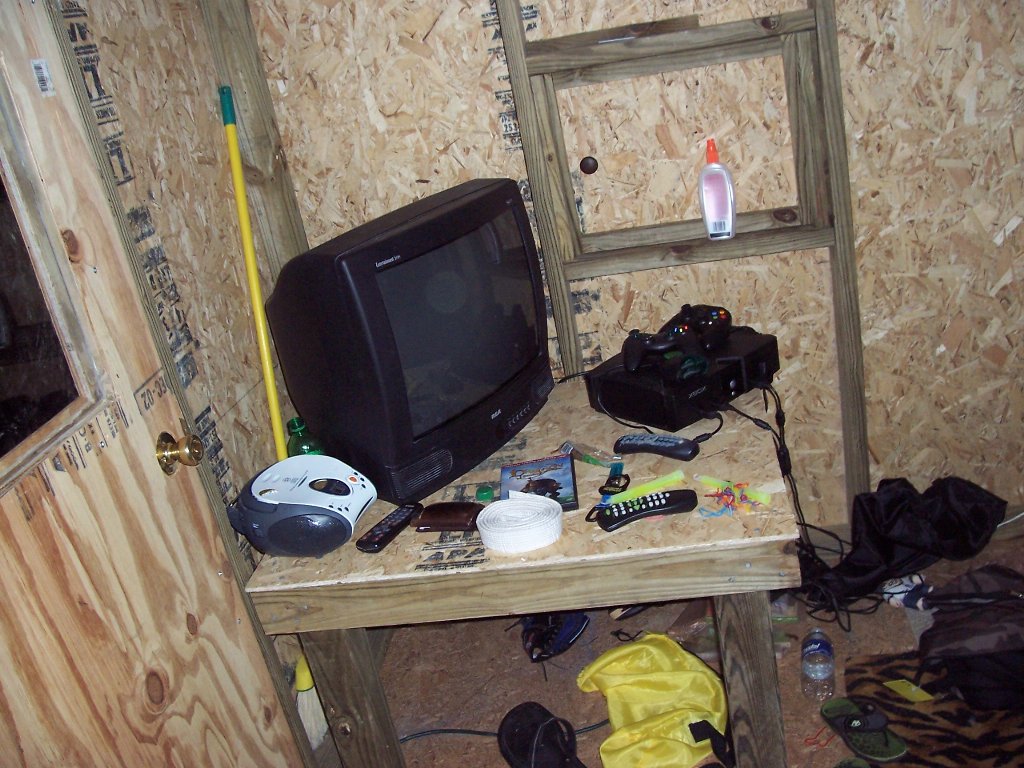

I haven't taken any pictures of the inside since I wired it up, but I installed an electrical outlet for the TV and XBox, and a switch to control the lights. I ended up using some old icicle lights we had used on the house at Christmas. Walmart was running them on sale after Christmas, so I bought some to replace the ones on the house and used the old ones for the fort. It looks really good, gives plenty of light, and I don't have to worry about heat buildup if they get left on or touched.


Home • CJ Pictures • Jokes • Entertainment • Development